Trong bài viết này, chúng ta sẽ tìm hiểu cách xây dựng prompt và thiết lập hình ảnh chỉ dẫn để Google Flow hiểu đúng đường bay, hướng camera, đồng thời loại bỏ hoàn toàn các đường vẽ và không để chiếc drone xuất hiện trong video thành phẩm.
Hướng dẫn tạo video drone điện ảnh trên Google Flow
Bước 1:
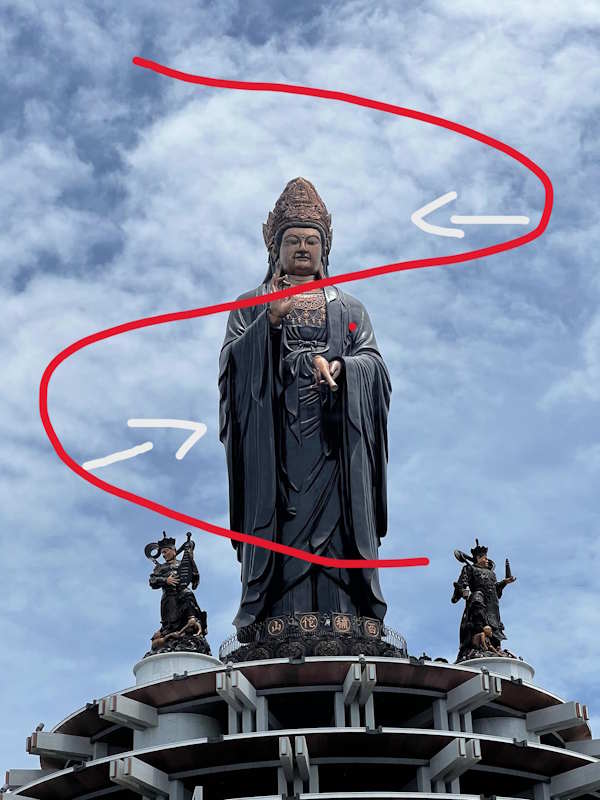
Trước hết hãy chuẩn bị hình ảnh làm video rồi dùng công cị vẽ có sẵn trên thiết bị, vẽ đường đỏ để xác định đường bay, còn mũi tên trắng xác định hướng nhìn của camera. C
amera có thể bay theo một hướng nhưng vẫn nhìn sang hướng khác, giúp tạo ra những chuyển động aerial cinematic tự nhiên và có chủ đích hơn.
Ví dụ với bức hình dưới đây với đường đỏ và mũi tên trắng.
Bước 2:
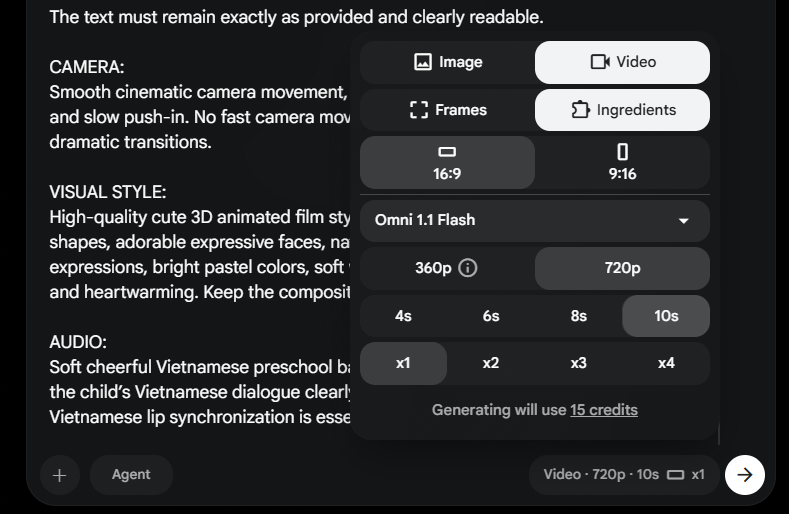
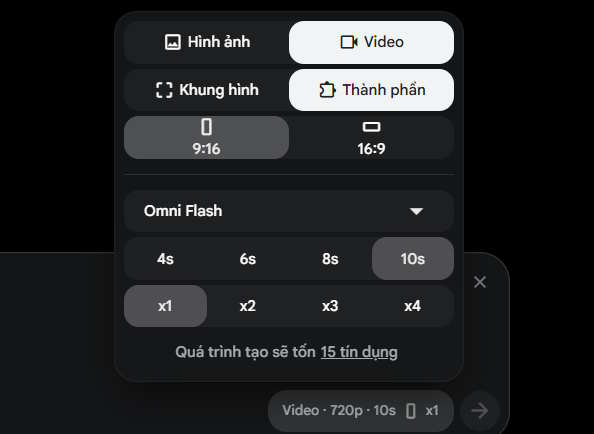
Truy cập Flow sau đó lựa chọn chế độ làm video, model Omni Flash, thời lượng, số lượng video đầu ra tùy chọn.
Tiếp đến tải hình ảnh của bạn lên rồi nhập câu lệnh dưới đây và gửi để tiến hành tạo video.
Use the attached annotated image as the motion-control blueprint for the video.

The red line and white arrows are ONLY visual motion instructions. They are not objects, elements, or details belonging to the scene.

RED LINE = exact camera movement trajectory.

WHITE ARROWS = exact camera viewing direction.

Interpret these annotations as invisible camera-control data. Use them to determine the camera's movement and orientation, but NEVER render, reproduce, trace, animate, or preserve the annotations in the final video.

Create a single continuous aerial camera POV from a camera mounted on an unseen flying platform.

IMPORTANT: THE DRONE / AIRCRAFT ITSELF MUST NEVER BE VISIBLE.

The final video must show ONLY the camera's point of view looking into the scene. Never show the drone, aircraft, quadcopter, FPV drone, helicopter, wings, propellers, rotors, arms, landing gear, body, silhouette, reflection, shadow, or any other physical part of the flying platform.

The camera moves through the scene according to the RED LINE.

Follow the red trajectory exactly, including its starting point, direction of travel, curves, turns, waypoints, relative movement, and endpoint.

At the same time, the camera looks according to the WHITE ARROWS.

The movement direction and viewing direction are independent.

DO NOT automatically point the camera in the direction of movement.

If the red line moves in one direction while a white arrow points in another direction, follow both instructions simultaneously:

camera position follows the RED LINE

camera orientation follows the WHITE ARROW

The red trajectory has priority for camera movement.

The white arrows have priority for camera orientation.

Maintain this relationship continuously throughout the entire shot.

Use smooth, physically realistic aerial camera motion with natural inertia, gentle banking, realistic acceleration and deceleration, and subtle stabilization. The movement should feel like a real professional aerial camera, not like a computer-generated object.

One continuous shot only.

No cuts.

No transitions.

No teleportation.

No sudden jumps.

No abrupt camera swings.

No automatic reorientation to the direction of travel.
Preserve the original scene exactly as shown in the underlying image. Do not change the environment, architecture, terrain, objects, subject, lighting, colors, textures, weather, or geometry.

Allow perspective, framing, and apparent subject scale to change naturally only because the camera follows the specified red trajectory and white viewing directions.

The annotations are NOT part of the scene.

The final video must contain:

ONLY the clean original scene + the specified camera movement.

The final video must NOT contain:

red lines, white arrows, waypoints, trajectory markings, annotations, guides, overlays, graphics, text, UI elements, watermarks, or any visible drone or aircraft.

The first frame and every subsequent frame must show a clean scene with no visible production guides and no visible flying platform.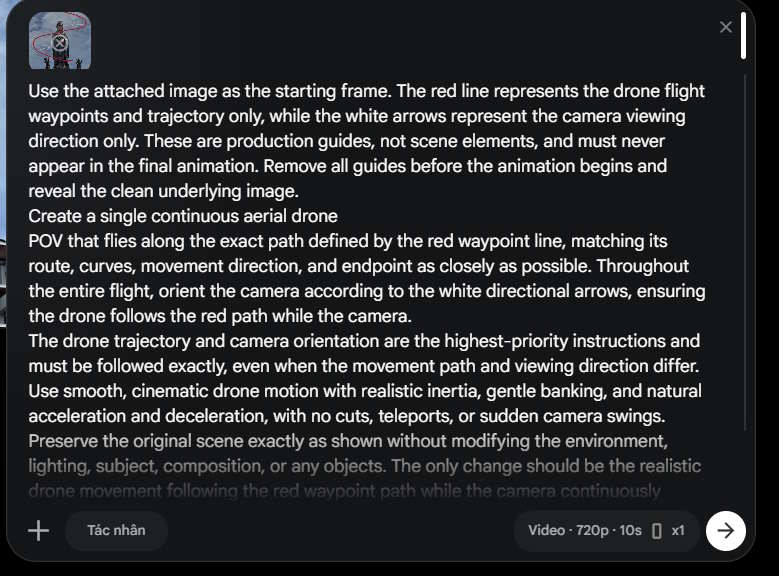
Cuối cùng bạn sẽ có được video drone hoàn chỉnh chỉ từ những đường kẻ. Dưới đây là video drone điện ảnh trên Flow.
Hướng dẫn tạo video quay bằng drone trên Google Flow
Bước 1:
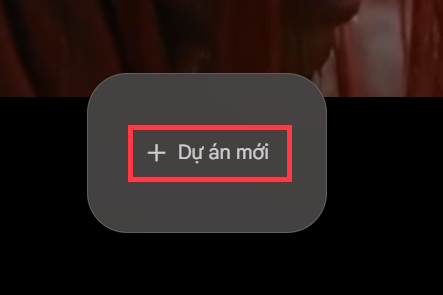
Chúng ta truy cập trang web Google Flow theo link dưới đây. Sau đó bạn nhấn chọn Dự án mới để tiến hành tạo.
Truy cập trang Google Flow: https://labs.google/fx/vi/tools/flow
Bước 2:
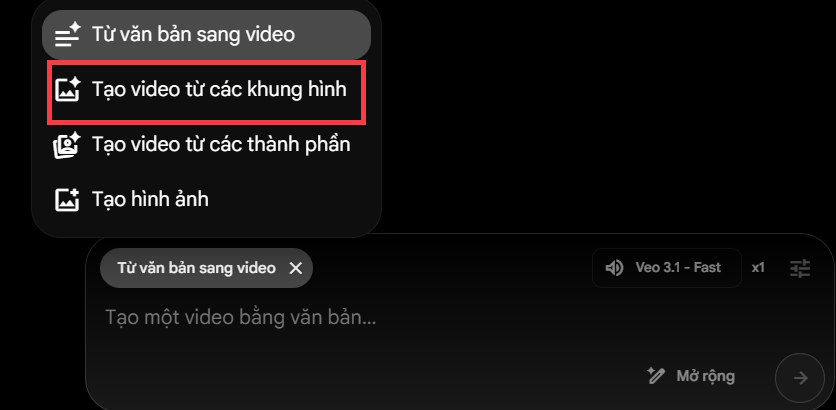
Trong tùy chọn tạo nội dung AI trên Google Flow, chúng ta chọn kiểu Tạo video từ các khung hình.
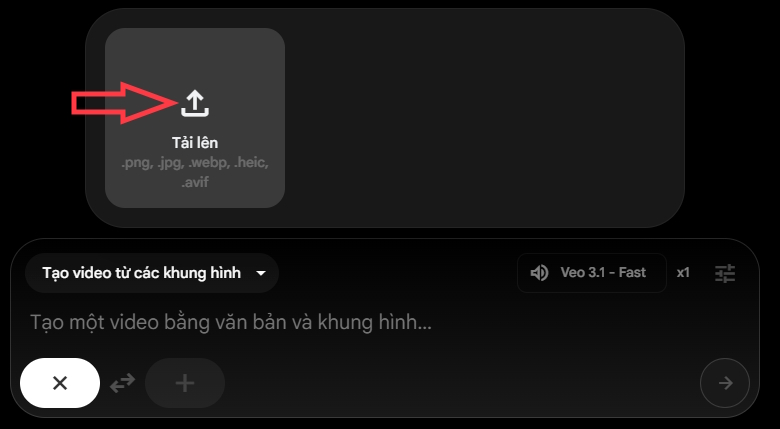
Tiếp đến bạn tải hình ảnh để chuyển thành video. Nên chọn ảnh ít chủ thể và không có quá nhiều các chi tiết nhỏ ở xung quanh.
Bước 3:
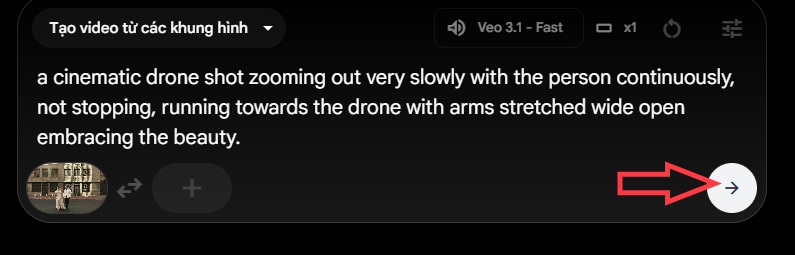
Tiếp đến bạn nhập lệnh vào khung để chuyển ảnh thành video quay bằng drone trên Google Flow.
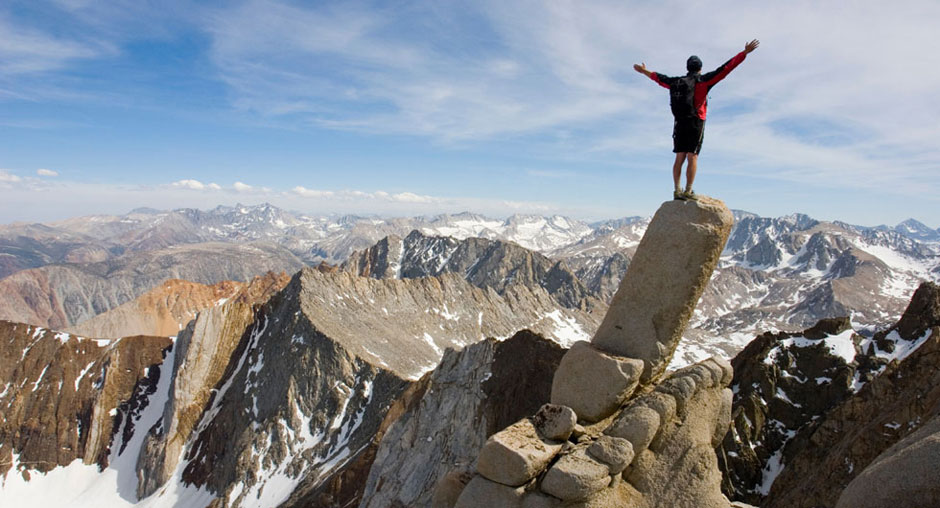
“a cinematic drone shot zooming out very slowly with the person continuously, not stopping, running towards the drone with arms stretched wide open embracing the beauty.”
Chúng ta có thể thay đổi lại nội dung theo ý muốn quay video của bạn. Sau đó nhấn vào biểu tượng mũi tên để gửi yêu cầu cho Google Flow.
Bước 4:
Chúng ta chờ quá trình chuyển ảnh thành video trên Google Flow hoàn thành.
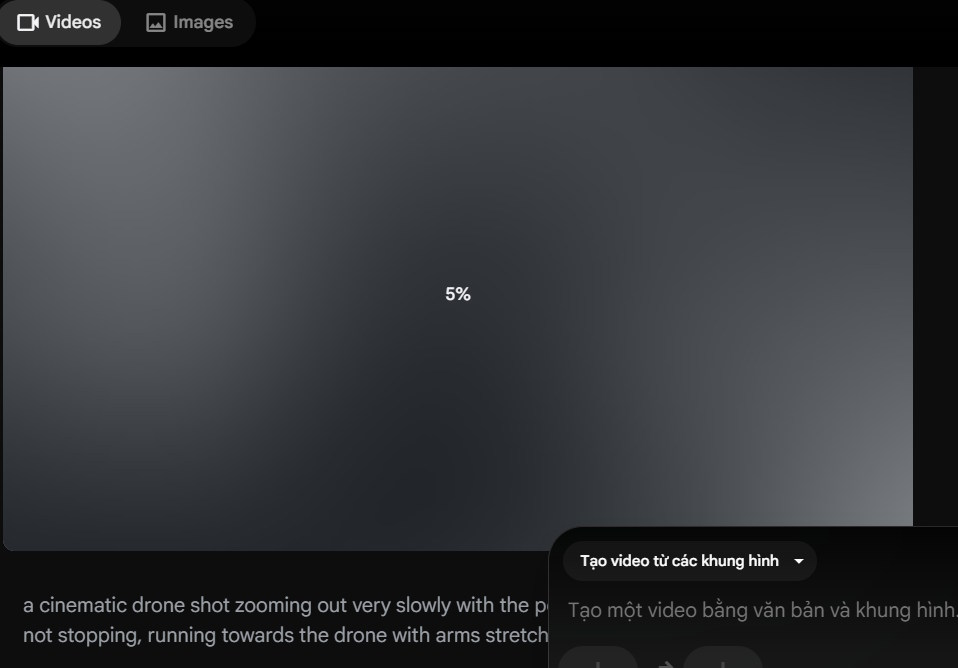
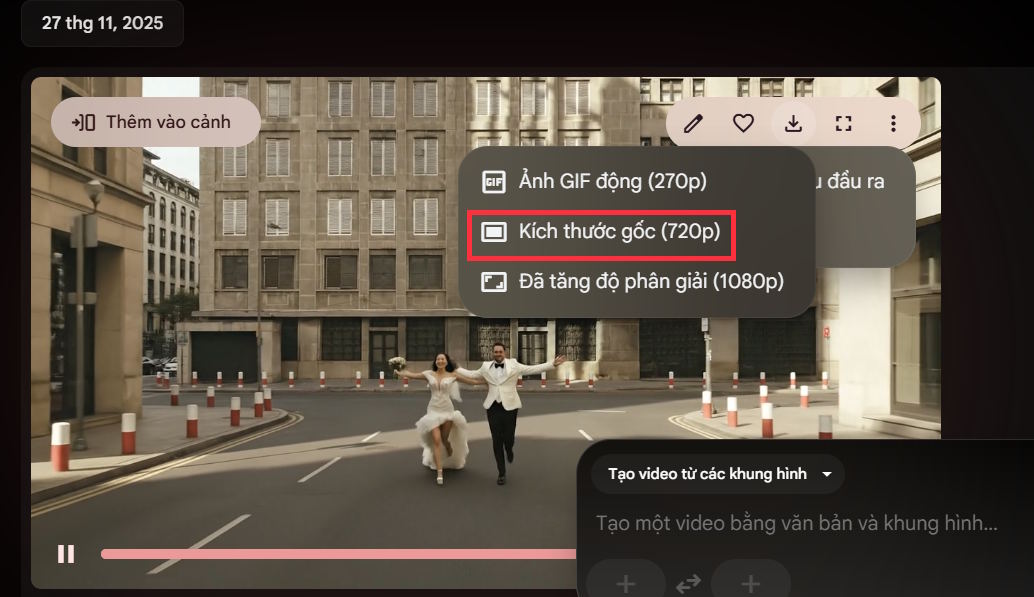
Kết quả bạn có được video quay bằng drone trên Google Flow như dưới đây. Video có sự chuyển động mượt mà, nghệ thuật. Để tải nhấn biểu tượng download xuống là được.
Với một tài khoản Google, bạn sẽ nhận được 100 điểm thưởng miễn phí để tạo video. Với tài khoản miễn phí sẽ hiện logo Veo ở góc dưới cùng bên phải.
 Cách tạo video tóm tắt từ tài liệu bằng Google Vids
 Cách sử dụng Gemini cải thiện nội dung Google Slides
 TOP công cụ AI lên kế hoạch học tập hữu ích cho học sinh, sinh viên
 Cách biến Claude thành người đồng hành cùng bạn động não
 TOP mô hình AI mã nguồn mở nổi bật nhất
 Kiểm tra Copilot Studio agent
 TOP ứng dụng AI mã nguồn mở đáng thử nhất
 AI agent đang học cách mua sắm
 TOP ứng dụng theo dõi thói quen tích hợp AI
 TOP công cụ AI tạo sticker thú vị và độc đáo
 Hướng dẫn tạo slide trình chiếu bằng NotebookLM và Canva
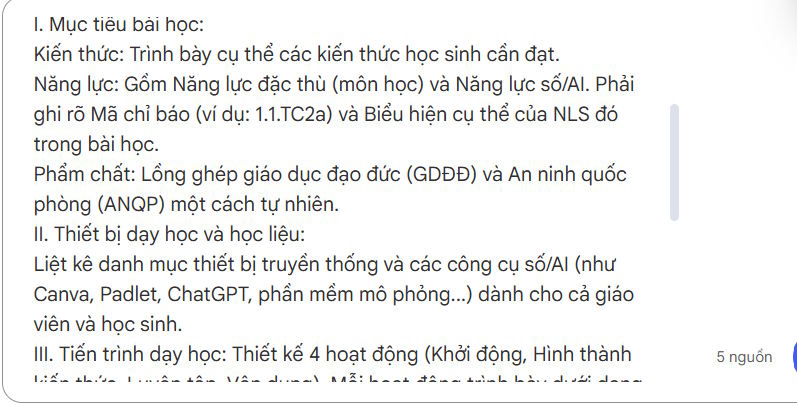 Cách tạo phụ lục và giáo án tích hợp NLS, ANQP, GDĐĐ trên NotebookLM
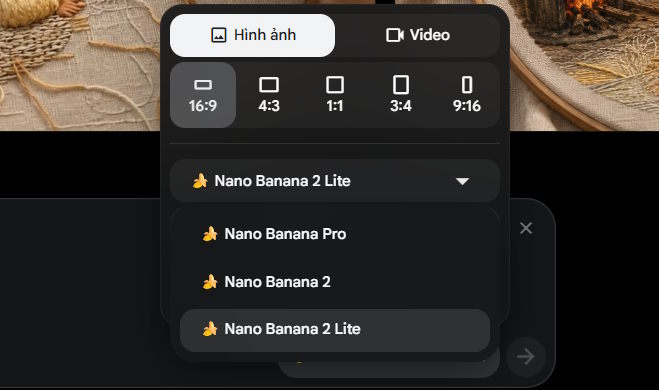 Google Flow sử dụng những model AI tạo video nào?
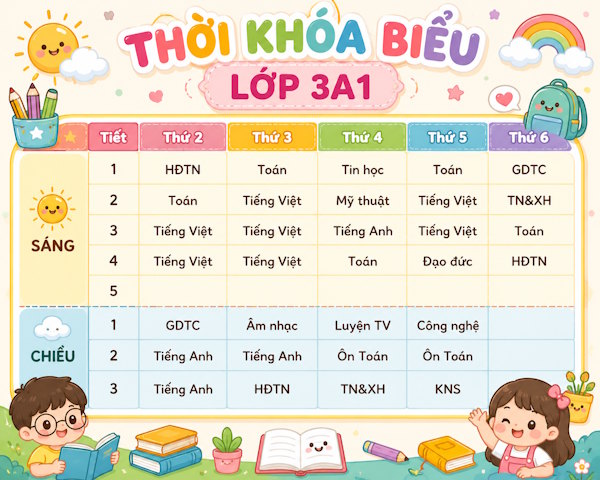 Hướng dẫn tạo ảnh thời khóa biểu chỉ bằng 1 câu lệnh
 Hướng dẫn tạo giọng đọc Adam lồng tiếng video
 Hướng dẫn chỉnh câu trả lời Gemini theo ý bạn
 Cách sử dụng Gemini để tạo ảnh trực tiếp trong Google Sheets
 30+ cheat codes Gemini tăng gấp đôi hiệu quả AI
 10 cheat code giúp bạn vắt kiệt ChatGPT
 150+ mã lệnh biến Claude thành trợ lý cho mọi công việc