Hướng dẫn cài win 11 trên máy ảo, cài windows 11 trên VMware
- Thứ sáu - 17/02/2023 23:50
- In ra
- Đóng cửa sổ này
Trong bài này, Quản Trị Mạng sẽ hướng dẫn các bạn cách cài và trải nghiệm Windows 11 trên máy ảo VMWare. Phương thức cài đặt này giúp các bạn có một bản Windows 11 hoạt động mượt, có kết nối internet.
Điều kiện tiên quyết để cài đặt Windows 11 trên VMware
Đây là những gì bạn cần để cài đặt Windows 11 với hỗ trợ TPM trong VMware Workstation 17 Player:
- File image ISO của Windows 11. Kiểm tra hướng dẫn chi tiết của Quantrimang.com về cách tải xuống file ISO Windows 11.: https://quantrimang.com/cong-nghe/tai-windows-11-download-iso-win-11-182407
- Hệ điều hành Windows 10 trở lên có TPM 2.0 và hỗ trợ ảo hóa.
- Phiên bản mới nhất của VMware Workstation 17 Player phải được cài đặt sẵn trên hệ thống host.
- Đủ tài nguyên máy tính để chạy Windows 11 dưới dạng máy ảo. Danh sách này bao gồm dung lượng ổ đĩa 64GB, RAM 4GB và bộ xử lý lõi kép x64.
Khi bạn có file ISO cần thiết và bản sao VMware mới nhất trên hệ thống của mình, bạn có thể tiến hành tạo máy ảo và cài đặt Windows 11.
Cách cài đặt Windows 11 trong VMware Workstation 17 Player
Đầu tiên, chúng ta sẽ tạo một máy ảo trong VMware cho Windows 11. Sau đó, ta sẽ cài đặt Windows 11 trên máy ảo. Cuối cùng, chúng ta sẽ cài đặt các công cụ VMware để hoàn tất việc thiết lập máy ảo.
1. Tạo máy ảo Windows 11
Đây là cách tạo máy ảo cho Windows 11 trong VMware:
1. Khởi chạy VMware Player trên hệ thống. Trên trang chủ, nhấp vào tùy chọn Create a new virtual machine.
2. Chọn I will install the operating system later và nhấp vào nút Next.

3. Giữ tùy chọn Guest Operating System là Windows và sau đó nhấp vào menu drop-down. Chọn tùy chọn Windows 11 x64 và nhấp vào nút Next.
4. Nhập tên thích hợp cho máy ảo Windows 11 mới. Sau đó, nhấp vào nút Browse để chọn một vị trí trên ổ để tạo đĩa ảo. Nhấp vào Next.
5. Trên trang Encryption information, chọn loại mã hóa là Only the files needed to support a TPM are encrypted.
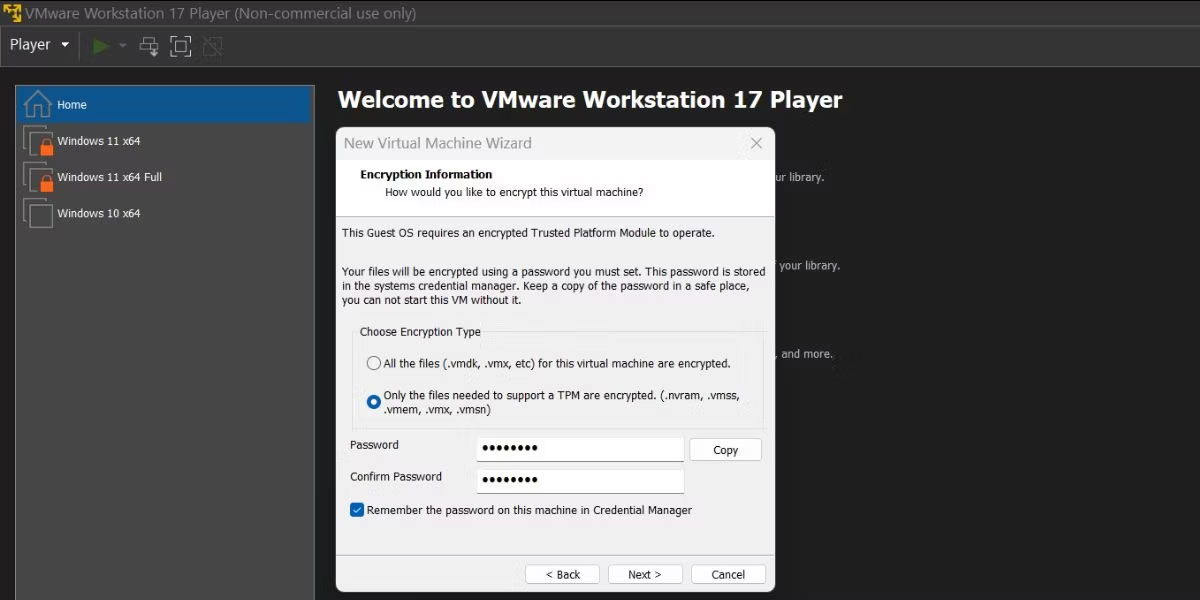
6. Bạn cần tạo một mật khẩu gồm 8 ký tự để mã hóa máy ảo. Luôn chọn hộp kiểm Remember the password on this machine in Credential Manager. Nhấp vào nút Next để tiếp tục.
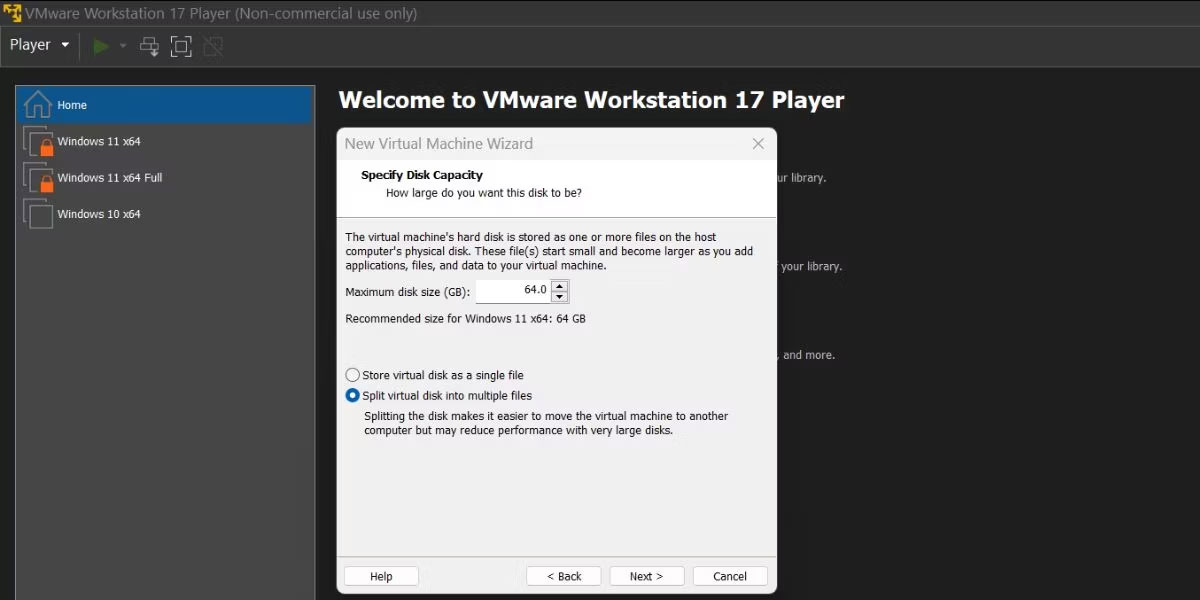
7. Bây giờ, chỉ định dung lượng ổ đĩa và đặt kích thước ổ đĩa tối đa thành 64GB. Tăng dung lượng nếu bạn muốn cài đặt nhiều chương trình trong máy ảo.
8. Chọn tùy chọn Split virtual disk into multiple files và nhấp vào Next.
VMware sẽ hiển thị một bản tóm tắt tất cả các cài đặt bạn đã chọn cho máy ảo Windows 11. Nhưng vẫn còn thiếu một thứ: bạn chưa tùy chỉnh các tùy chọn phần cứng hoặc thêm file ISO Windows 11 vào máy ảo.
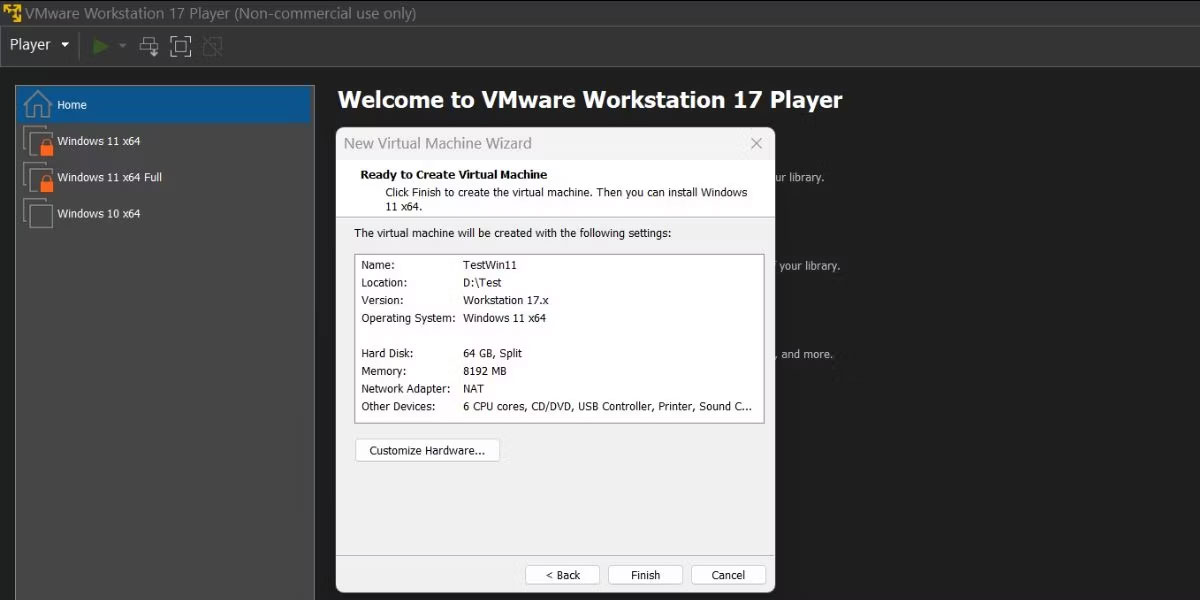
1. Nhấp vào nút Customize Hardware. Trong tab Memory, hãy tăng mức phân bổ RAM lên 6GB trở lên để tránh trải nghiệm Windows 11 chậm chạp.
2. Chuyển sang tab Processors và phân bổ 4 lõi trở lên cho máy ảo Windows.
3. Tiếp theo, di chuyển đến tab New CD/DVD (SATA) và nhấp vào tùy chọn Use ISO image file nằm trong phần Connection.
4. Nhấp vào nút Browse và chọn file image ISO Windows 11 mà bạn đã tải xuống trước đó. Nhấp vào nút Open.
5. Bây giờ, hãy đóng cửa sổ Hardware và nhấp vào nút Finish để tạo máy ảo mới.
2. Cài đặt Windows 11 trên máy ảo
Lặp lại các bước sau để cài đặt Windows 11 trên máy ảo mới tạo:
1. Điều hướng đến menu bên trái và chọn máy ảo Windows 11. Nhấp vào tùy chọn Play virtual machine.
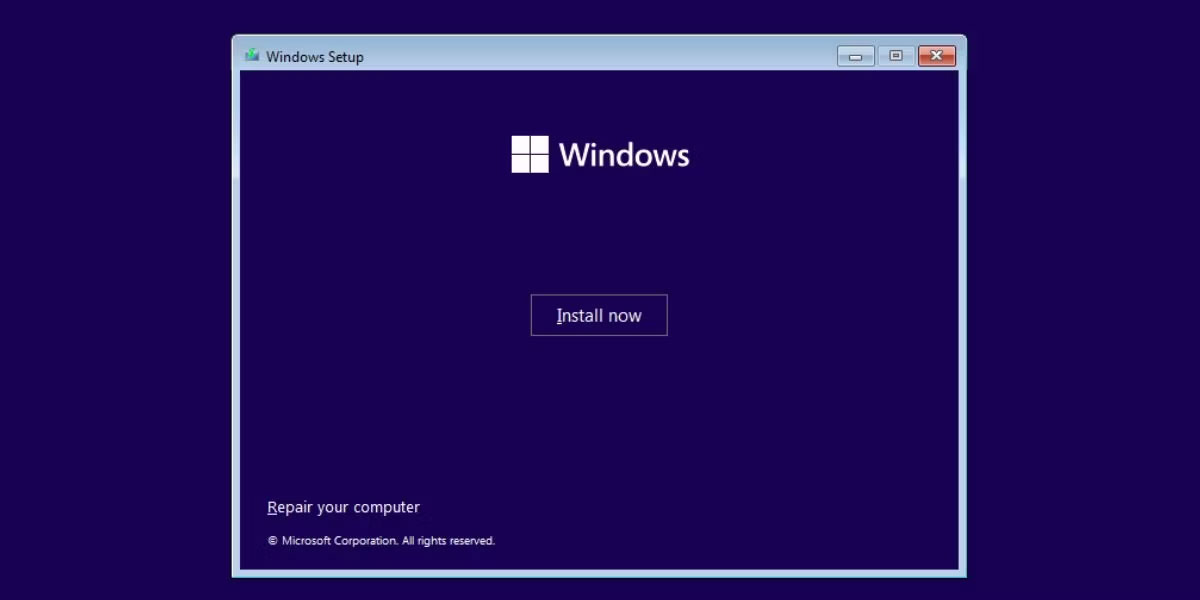
2. Nhấn bất kỳ phím nào trên bàn phím để khởi động từ file ISO. Chọn ngôn ngữ và khu vực thích hợp, rồi nhấp vào nút Next. Sau đó, nhấp vào nút Install now.
3. Trong cửa sổ thiết lập Windows, nhấp vào tùy chọn I don’t have a product key.
4. Chọn phiên bản Windows 11 (Home, Pro hoặc Education) và nhấp vào nút Next.
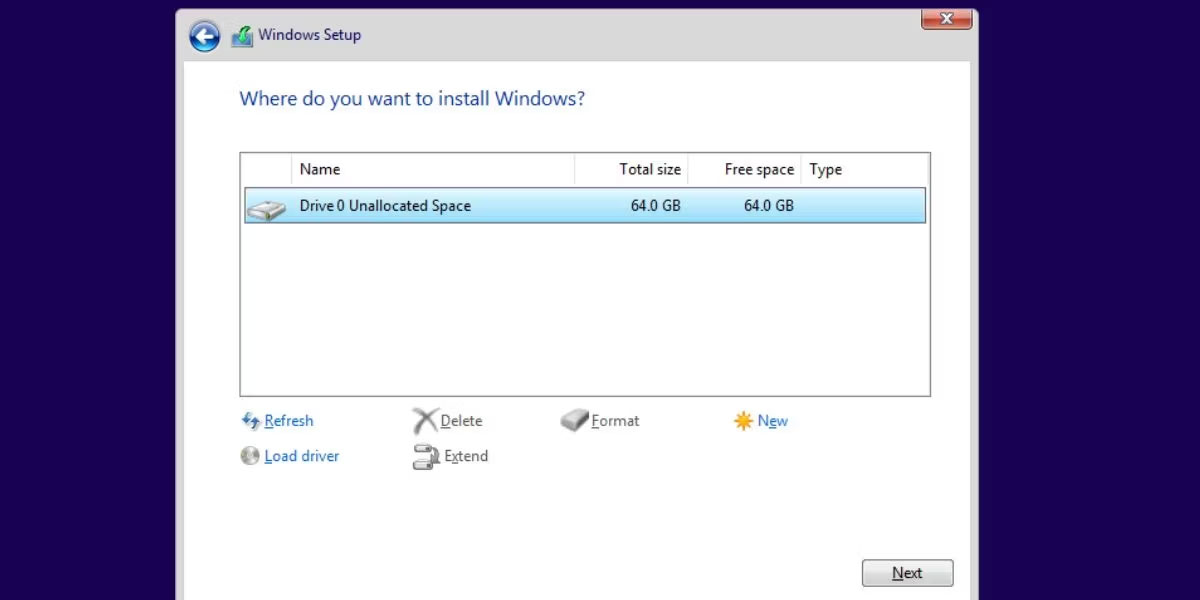
5. Chấp nhận End User License Agreement và chọn tùy chọn Custom installation.
6. Nhấp vào nút Next. Thiết lập sẽ bắt đầu cài đặt Windows 11. Máy ảo sẽ khởi động lại một vài lần.
7. Sau khi máy khởi động, chọn đúng vùng và nhấp vào nút Yes. Chọn cách bố trí bàn phím phù hợp.
8. Windows 11 sẽ buộc bạn phải thêm tài khoản Microsoft. Để tránh điều này, hãy nhấn Shift + F10, nhập lệnh oobe\bypassnro và nhấn phím Enter.
9. Máy ảo sẽ khởi động lại. Nhấp vào tùy chọn I don’t have internet.

10. Nhập tên cho PC Windows của bạn và gán mật khẩu. Chọn 3 câu hỏi bảo mật và tiếp tục.

11. Bỏ chọn tất cả các tùy chọn theo dõi trên trang Privacy settings và nhấp vào nút Accept.
12. Đợi quá trình thiết lập hoàn tất các thay đổi và khởi động máy tính.
3. Cài đặt các công cụ VMware
Máy ảo Windows 11 đang hoạt động trong VMware. Nhưng nó chưa hoàn thiện. Nhiều tính năng hữu ích sẽ không kích hoạt cho đến khi bạn cài đặt các công cụ VMware trong máy ảo Windows 11. Hãy thực hiện các bước sau:
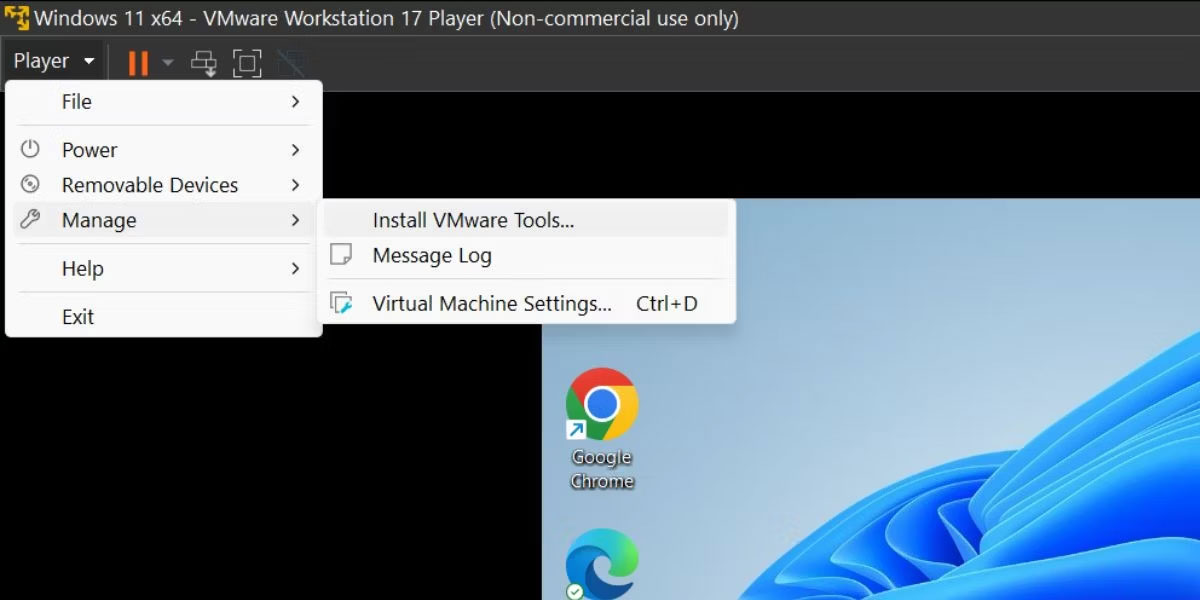
1. Chuyển đến menu trên cùng của VMware Player và nhấp vào nút Player.
2. Chọn tùy chọn Manage từ menu drop-down và nhấp vào tùy chọn Install VMware tools. Nó sẽ mount file image thiết lập công cụ VMware trong Windows File Explorer.
3. Nhấn Win + E để khởi chạy File Explorer và mở ổ file ISO được mount.
4. Định vị và chọn file setup64.exe. Nhấn Ctrl + Shift + Enter để khởi chạy thiết lập với quyền admin.
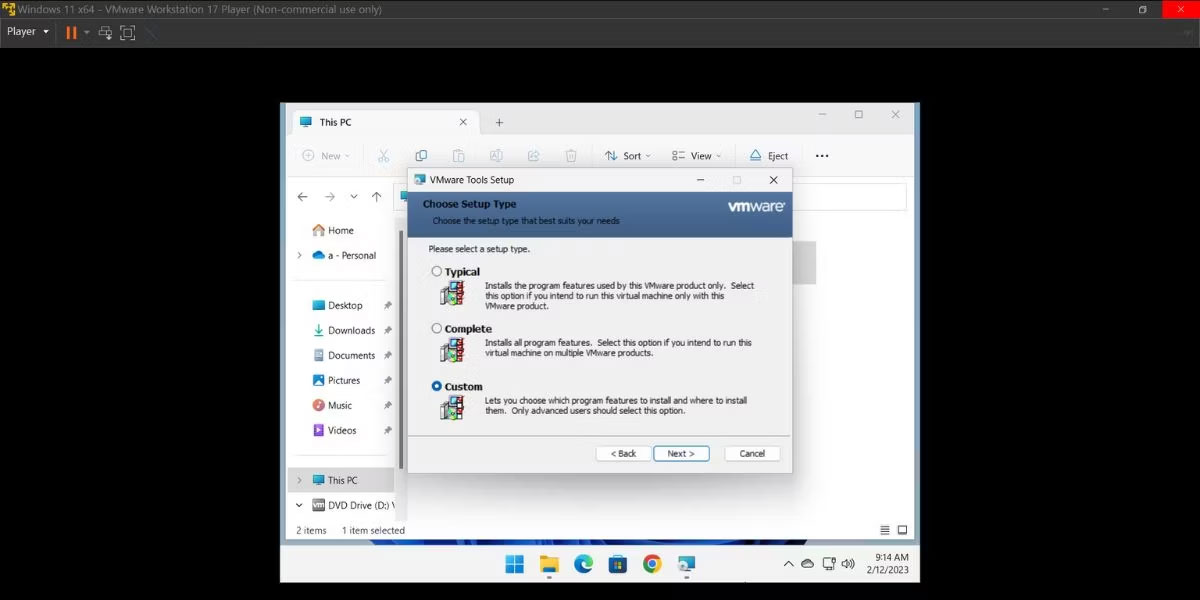
5. Trong cửa sổ cài đặt các công cụ VMware, nhấp vào nút Next và chọn tùy chọn Complete installation.
6. Sau đó bấm vào nút Install. Sau khi cài đặt hoàn tất, nhấp vào nút Finish.
7. Cuối cùng, nhấp vào nút Yes để khởi động lại máy ảo và áp dụng các thay đổi.
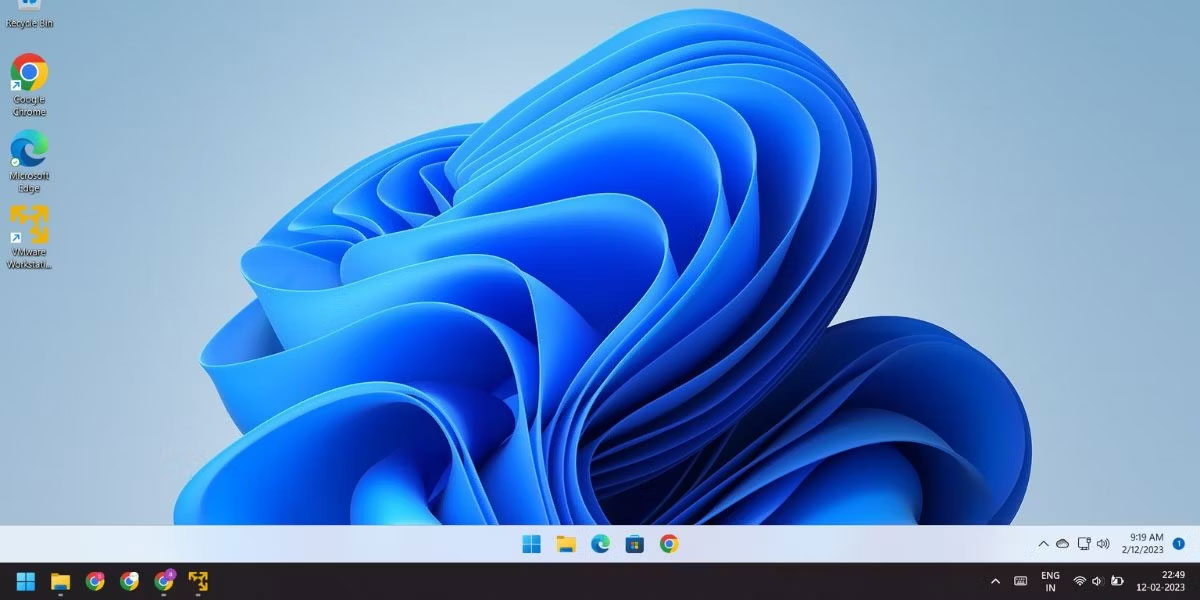
Máy ảo Windows 11 đã sẵn sàng để sử dụng. Bạn thậm chí có thể chạy các tính năng của Windows như Hyper V, Windows MDAG và Sandbox bên trong máy này.
