Cách thêm thùng rác xóa file vĩnh viễn trên Windows 10/11
- Chủ nhật - 12/02/2023 23:59
- In ra
- Đóng cửa sổ này
Windows desktop bao gồm kho lưu trữ Recycle Bin cho các file "đã xóa". Tuy nhiên, thao tác kéo và thả file vào biểu tượng thùng rác này không thực sự xóa chúng. Các file được kéo vào Recycle Bin được lưu trữ cho đến khi thùng rác được dọn sạch và thậm chí sau đó, chúng vẫn có thể phục hồi được.
Bạn có muốn có một thùng rác trên desktop Windows 10 hoặc 11 thực sự xóa các file được kéo vào đó và không thể khôi phục được không? Tin vui là bạn có thể thực hiện việc này bằng Free File Wiper và Multi Trash. Đây là cách bạn có thể thêm thùng rác xóa file vĩnh viễn vào Windows desktop.
Cách thêm thùng rác xóa file vào desktop bằng Free File Wiper
Free File Wiper, đúng như tên gọi của nó, là phần mềm có sẵn miễn phí dành cho nền tảng Windows. Đó cũng là một ứng dụng portable không cần cài đặt. Phần mềm này có 4 tùy chọn để xóa (ghi đè) dữ liệu triệt để. Bạn có thể thêm biểu tượng thùng rác Free File Wiper vào desktop Windows 10 và 11 như sau:
1. Mở trang tải xuống Free File Wiper.
2. Nhấp vào tùy chọn Download Now và External Mirror 1.
3. Kích hoạt File Explorer bằng cách nhấn nút thanh tác vụ thư viện thư mục của nó.
4. Hiển thị thư mục chứa file free_file_wiper.zip được tải xuống.
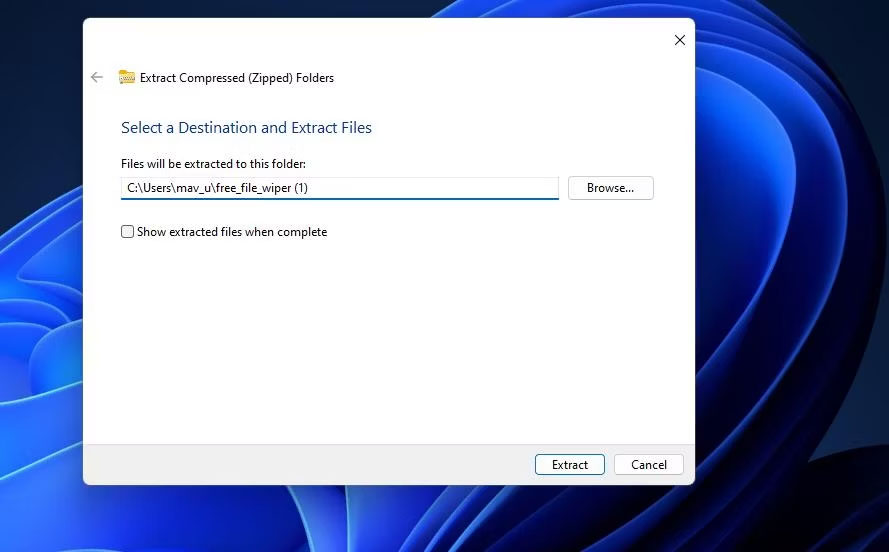
5. Giải nén file lưu trữ free_file_wiper.zip theo hướng dẫn giải nén file ZIP trên Windows của Quantrimang.com.
6. Nhấp đúp vào Free_File_Wiper.exe trong thư mục được giải nén để chạy ứng dụng.
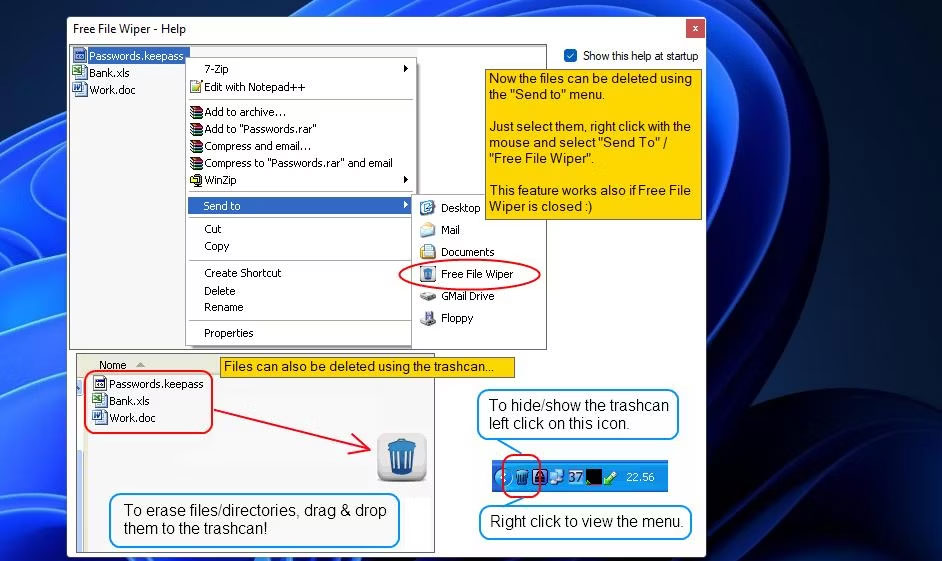
7. Bạn sẽ thấy một cửa sổ trợ giúp khi khởi động ứng dụng lần đầu tiên. Bỏ chọn hộp kiểm Show this help at startup nếu bạn không muốn thông tin xuất hiện lại.
8. Nhấp vào nút đóng X trên cửa sổ "Free File Wiper – Help".
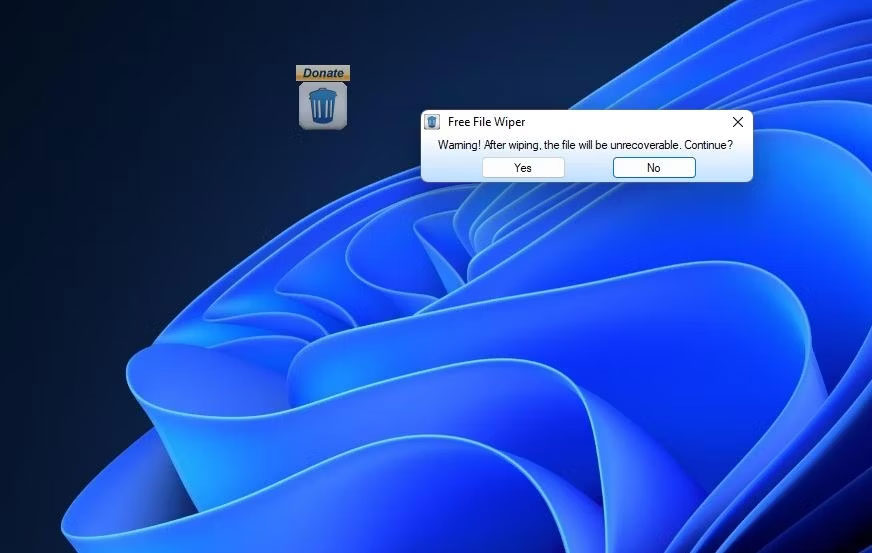
9. Bây giờ, bạn sẽ thấy biểu tượng thùng rác Free File Wiper ở đâu đó trên desktop Windows. Nhấp chuột trái và kéo biểu tượng đó để định vị lại nếu cần.
Để xóa vĩnh viễn một thứ gì đó bằng ứng dụng file shredder: quantrimang.com/cong-nghe/11-bo-cat-file-mien-phi-cho-bao-mat-may-tinh-46982 hãy mở Explorer, nhấp chuột trái vào một file, sau đó kéo file đó vào biểu tượng thùng rác Free File Wiper trên màn hình. Một lời nhắc cảnh báo sẽ xuất hiện cho biết bạn sẽ không thể khôi phục file sau khi xóa. Chọn Yes nếu bạn chắc chắn về việc xóa file vĩnh viễn.
Bạn có thể thay đổi phương thức xóa cho thùng rác đó thông qua menu ngữ cảnh của nó. Nhấp chuột phải vào biểu tượng khay hệ thống Free File Wiper và chọn menu con Wipe method. Sau đó chọn 1 trong 5 tùy chọn có sẵn. Maniacal erase là tùy chọn xóa kỹ lưỡng nhất với nhiều lần ghi đè.
Menu ngữ cảnh của Free File Wiper cũng bao gồm các tùy chọn khác. Ở đó, bạn có thể chọn các mức độ trong suốt thay thế cho biểu tượng thùng rác. Nhấp vào Autostart with Windows để thêm Free File Wiper vào các mục khởi động.

Bạn cũng sẽ nhận thấy rằng menu bao gồm Integrate in explorer “Send to” menu được chọn theo mặc định. Tùy chọn đó thêm menu Free File Wiper vào menu con Send to trên menu ngữ cảnh cổ điển khi được chọn. Nó cho phép bạn nhấp chuột phải vào một file và chọn Show more options > Send to > Free File Wiper.
Cách thêm thùng rác xóa file vào desktop với Multi Trash
Multi Trash là một tiện ích mà bạn có thể thêm vào desktop bằng phần mềm 8GadgetPack. Tiện ích này là thùng rác 3 trong 1 để tái chế, xóa và shred (xóa vĩnh viễn) file. Khi được đặt thành shred file, nó sẽ xóa chúng vĩnh viễn. Đây là cách bạn có thể thêm Multi Trash vào desktop Windows.
1. Đầu tiên, hãy mở trang tải xuống 8GadgetPack.
2. Nhấp vào Download trên trang 8GadgetPack đó.
3. Làm theo hướng dẫn trên trang tải xuống được liên kết để cài đặt phần mềm 8GadgetPack.
4. Tiếp theo, hãy mở trang tải xuống tiện ích Multi Trash.
5. Nhấp vào tùy chọn Download Now > Secure Download (US) của Multi Trash.
6. Bây giờ, hãy mở phần mềm 8GadgetPack lên.
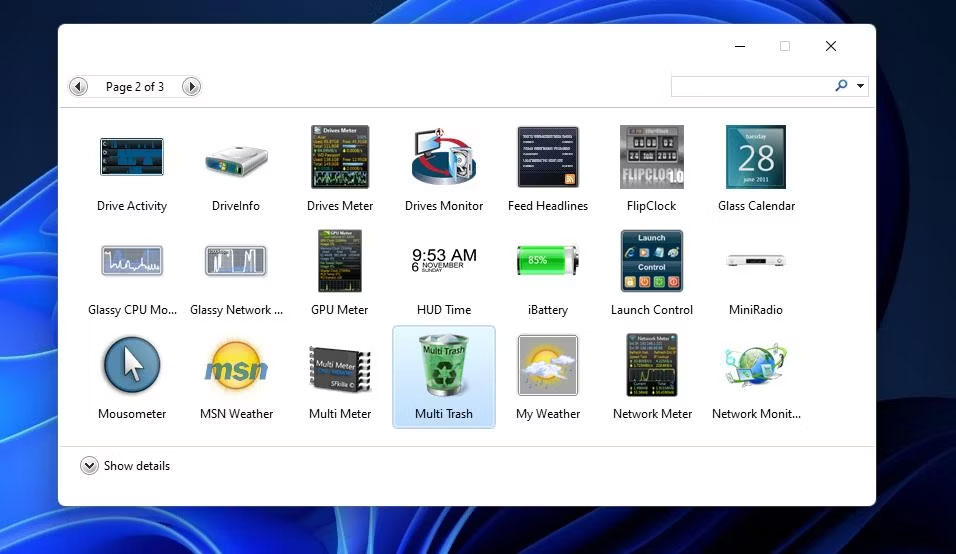
7. Nhấp vào tùy chọn Add gadget để xem cửa sổ lựa chọn tiện ích trên màn hình.
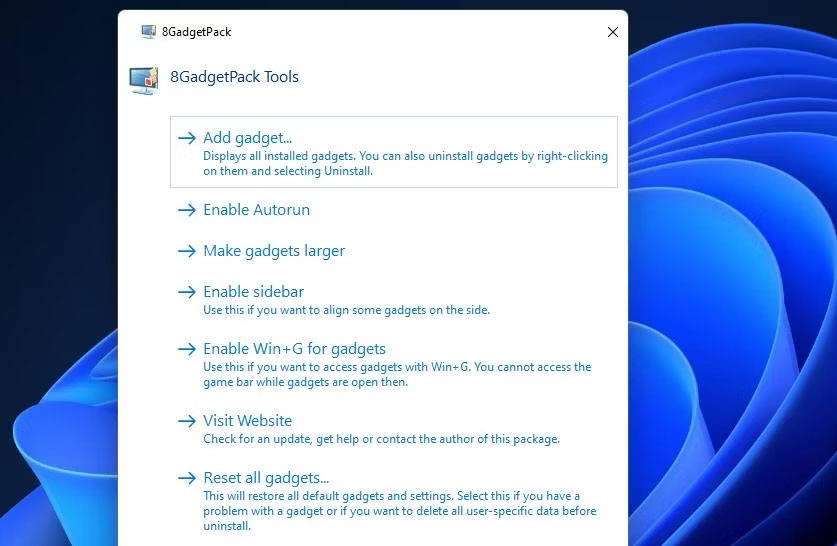
8. Nhấp đúp vào tiện ích Multi Trash, tiện ích này có thể nằm trên trang hai của cửa sổ đó, để thêm tiện ích này vào desktop.
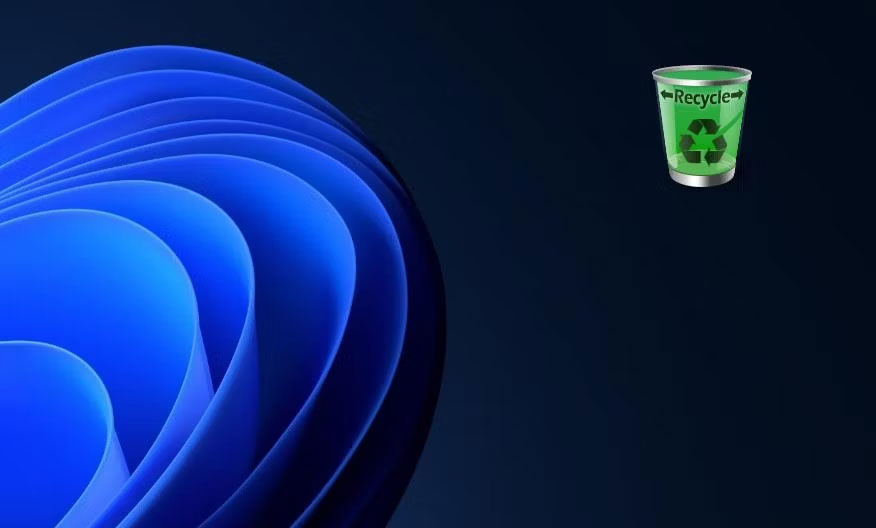
Theo mặc định, Multi Trash được đặt thành Recycle Bin. Tuy nhiên, bạn có thể thay đổi chức năng của nó bằng cách nhấp vào các mũi tên trên tiện ích đó. Nhấp vào mũi tên bên trái của tiện ích đó để biến nó thành Shred bin.
Shred bin sẽ xóa vĩnh viễn các file được kéo vào đó. Vì vậy, hãy tiếp tục và kéo một số file từ cửa sổ của Explorer vào Shred bin. Một lời nhắc xác nhận sẽ mở ra để hỏi bạn có chắc chắn về việc xóa file vĩnh viễn không. Nhấp vào Yes để xác nhận việc này.

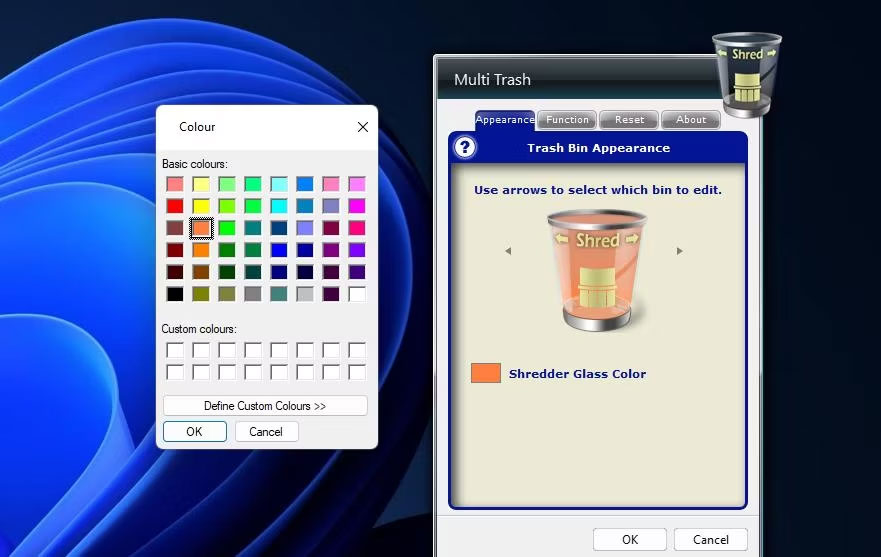
Tiện ích này có một số cài đặt tùy chỉnh. Nhấp vào nút Options của nó để xem chúng trên cửa sổ Multi Trash. Bạn có thể thay đổi màu của thùng rác bằng cách nhấp vào tùy chọn Shredder Glass Color trên tab Appearance và chọn một màu thay thế trên bảng màu. Để thay đổi kích thước của thùng, hãy chọn tùy chọn Large hoặc Small trên menu drop-down Size of bin trong tab Function. Nhấp vào OK để áp dụng cài đặt tiện ích mới.
Tất nhiên, điểm hay nhất của Multi Trash là nó là công cụ xóa file 3 trong 1. Bạn cũng có thể đặt nó thành thùng rác xóa tiêu chuẩn cho các file khác nhau. Tuy nhiên, chỉ có Shred bin mới xóa các file không thể khôi phục một cách an toàn. Vì vậy, hãy sử dụng Shred bin để xóa các file chứa nhiều thông tin bí mật hơn.
