Cách tận dụng tối đa HDR trên Windows 11
- Thứ ba - 17/09/2024 23:22
- In ra
- Đóng cửa sổ này
Màn hình HDR hoạt động tốt với Windows 11 để chơi game và phát trực tuyến video. Nhưng thành thật mà nói, nó không đẹp lắm lúc ban đầu. Tuy nhiên, bạn có thể điều chỉnh một số cài đặt để có được trải nghiệm HDR tốt nhất có thể.
Cách bật HDR và AutoHDR trong Windows 11
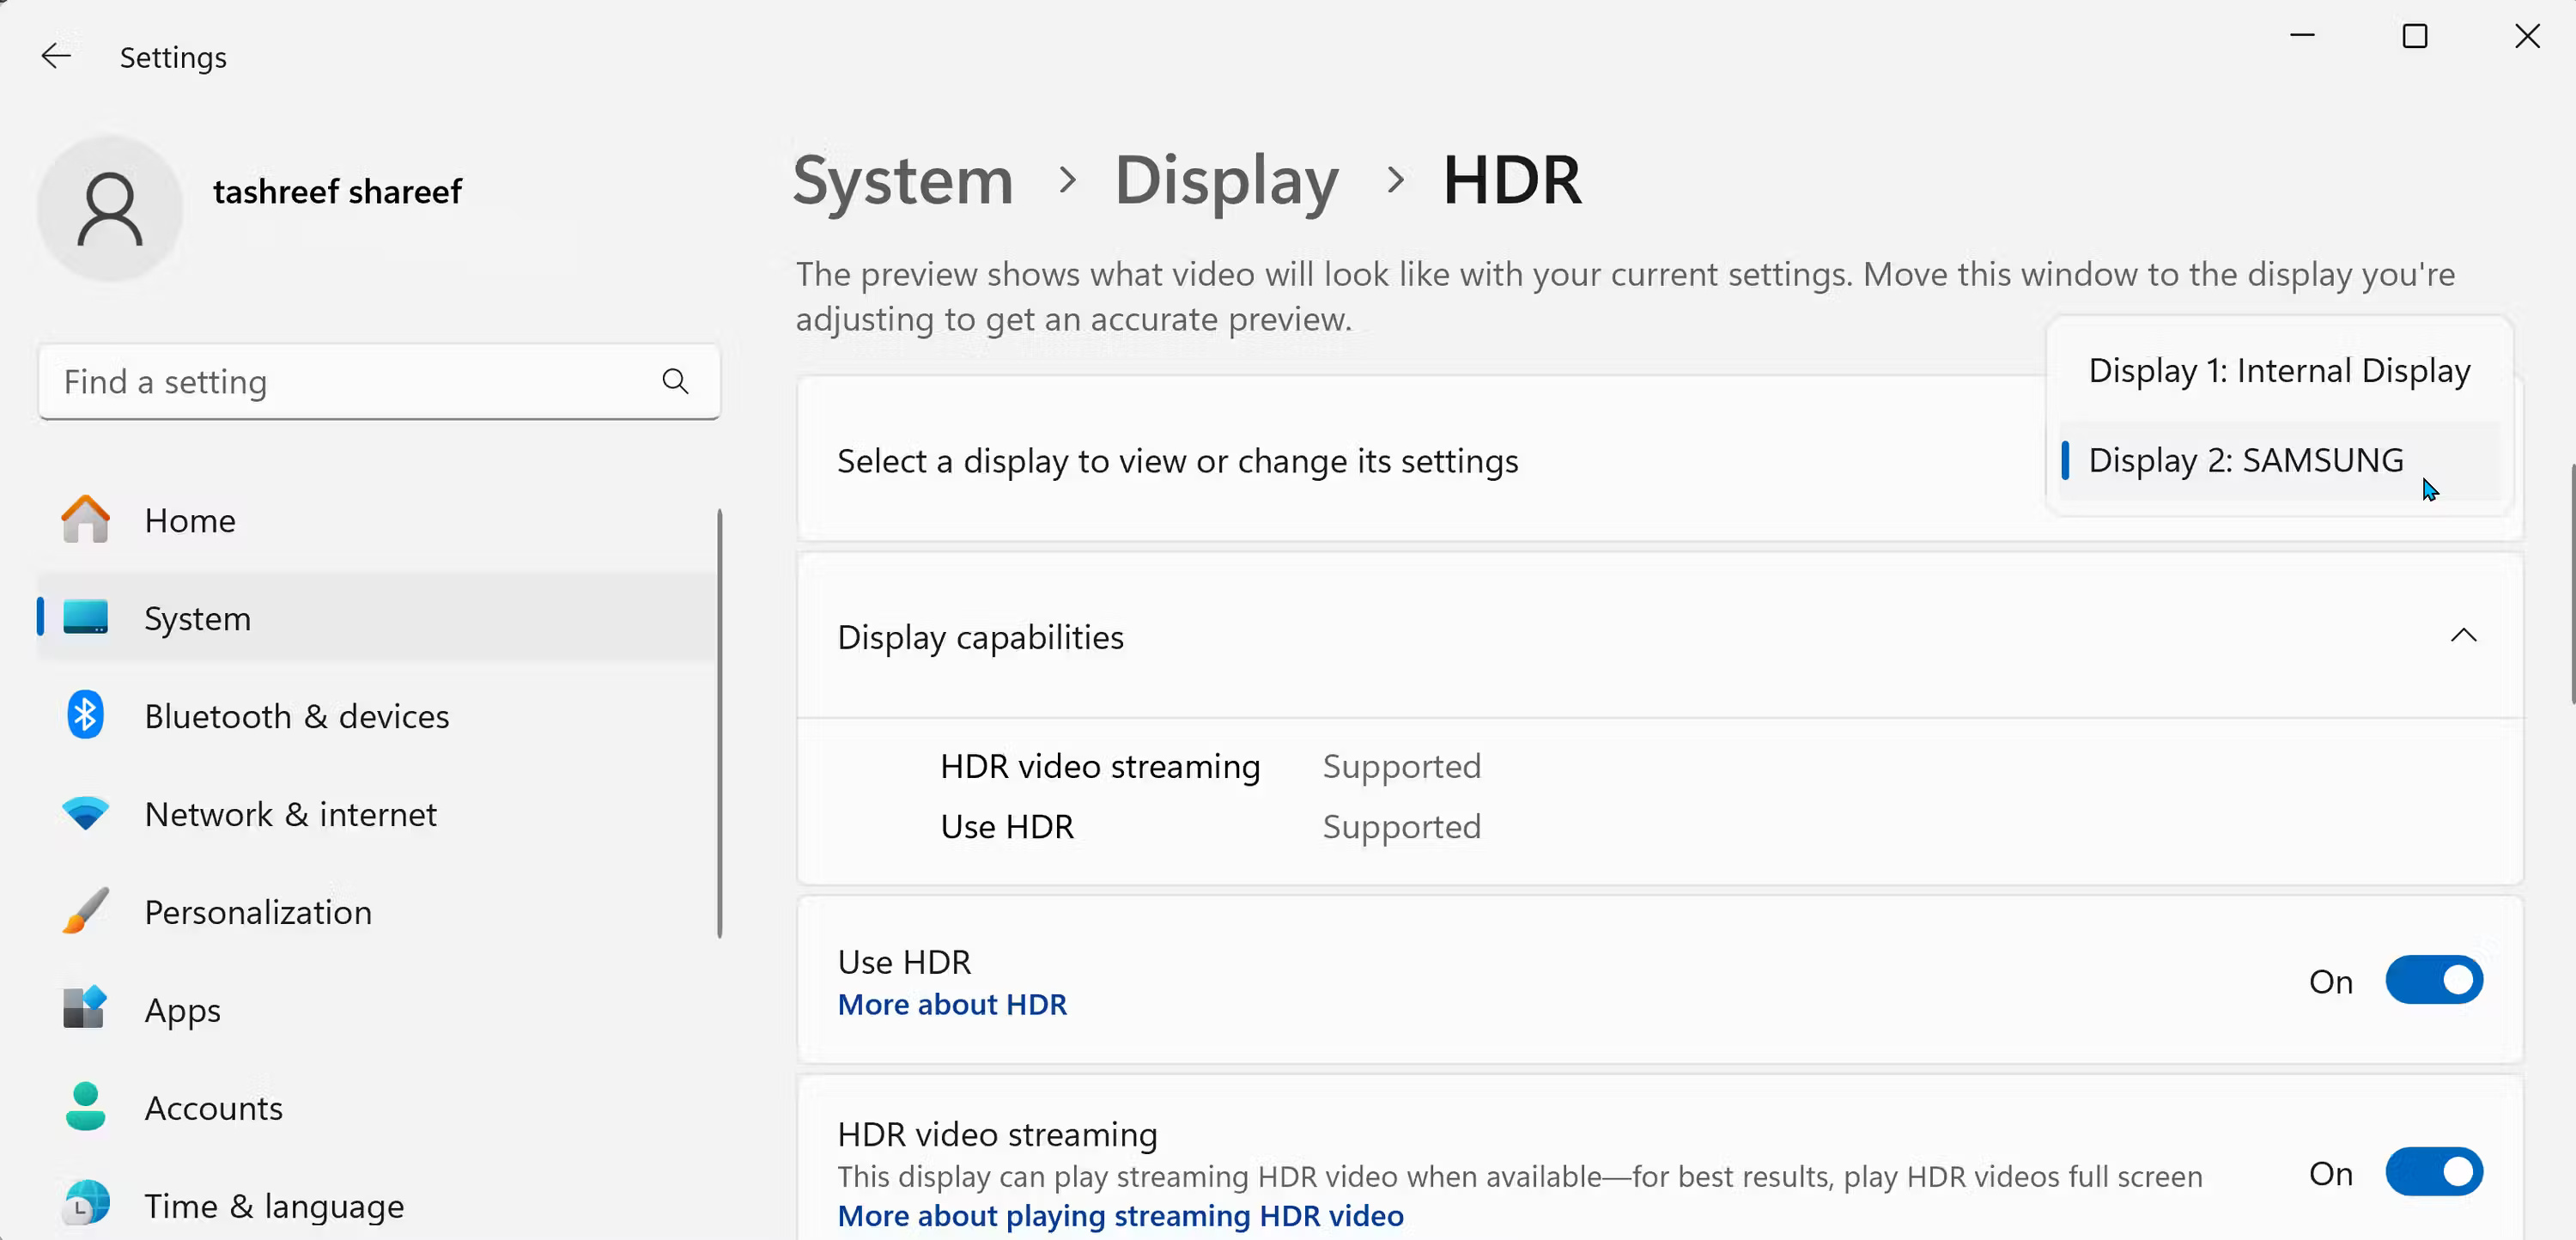
Bạn có thể bật HDR từ ứng dụng Settings. Vào Settings > System > Display, sau đó nhấp vào Use HDR. Nếu bạn có nhiều màn hình được kết nối, hãy chọn màn hình hỗ trợ HDR từ danh sách drop-down Select a display to view or change its settings
Tùy chọn HDR của Windows 11
Bật công tắc chuyển đổi Use HDR. Màn hình có thể bị tối hoặc nhấp nháy trong giây lát khi HDR bật. Bạn cũng có thể bật HDR video streaming để xem nội dung HDR trên các nền tảng phát trực tuyến như YouTube.
Windows 11 cũng cung cấp Auto HDR, tự động bật HDR cho các game SDR tương thích. Mặc dù không phải tất cả các game đều hỗ trợ Auto HDR, nhưng nhiều tựa game phổ biến đều hỗ trợ, bao gồm Minecraft, HALO: Master Chief Collection, Call of Duty: Warzone và Assassin's Creed Mirage.

Bạn cũng có thể bật HDR bằng Game Bar. Để thực hiện việc này:
- Nhấn Windows + G để mở Game Bar. Sau đó, nhấp vào Settings (biểu tượng bánh răng) trên thanh công cụ ở trên cùng.
- Chọn Gaming features từ ngăn bên trái của cửa sổ mở ra.
- Trong HDR, hãy đánh dấu vào ô bên cạnh Use HDR (Windows + Alt + B). Sau đó, chọn HDR on all displays hoặc Use HDR on the main display only.

Với các cài đặt Game Bar được cấu hình, bạn có thể nhanh chóng bật hoặc tắt HDR bằng phím tắt Win + Alt + B.
Hiệu chỉnh màn hình HDR bằng phần mềm Windows HDR Calibration
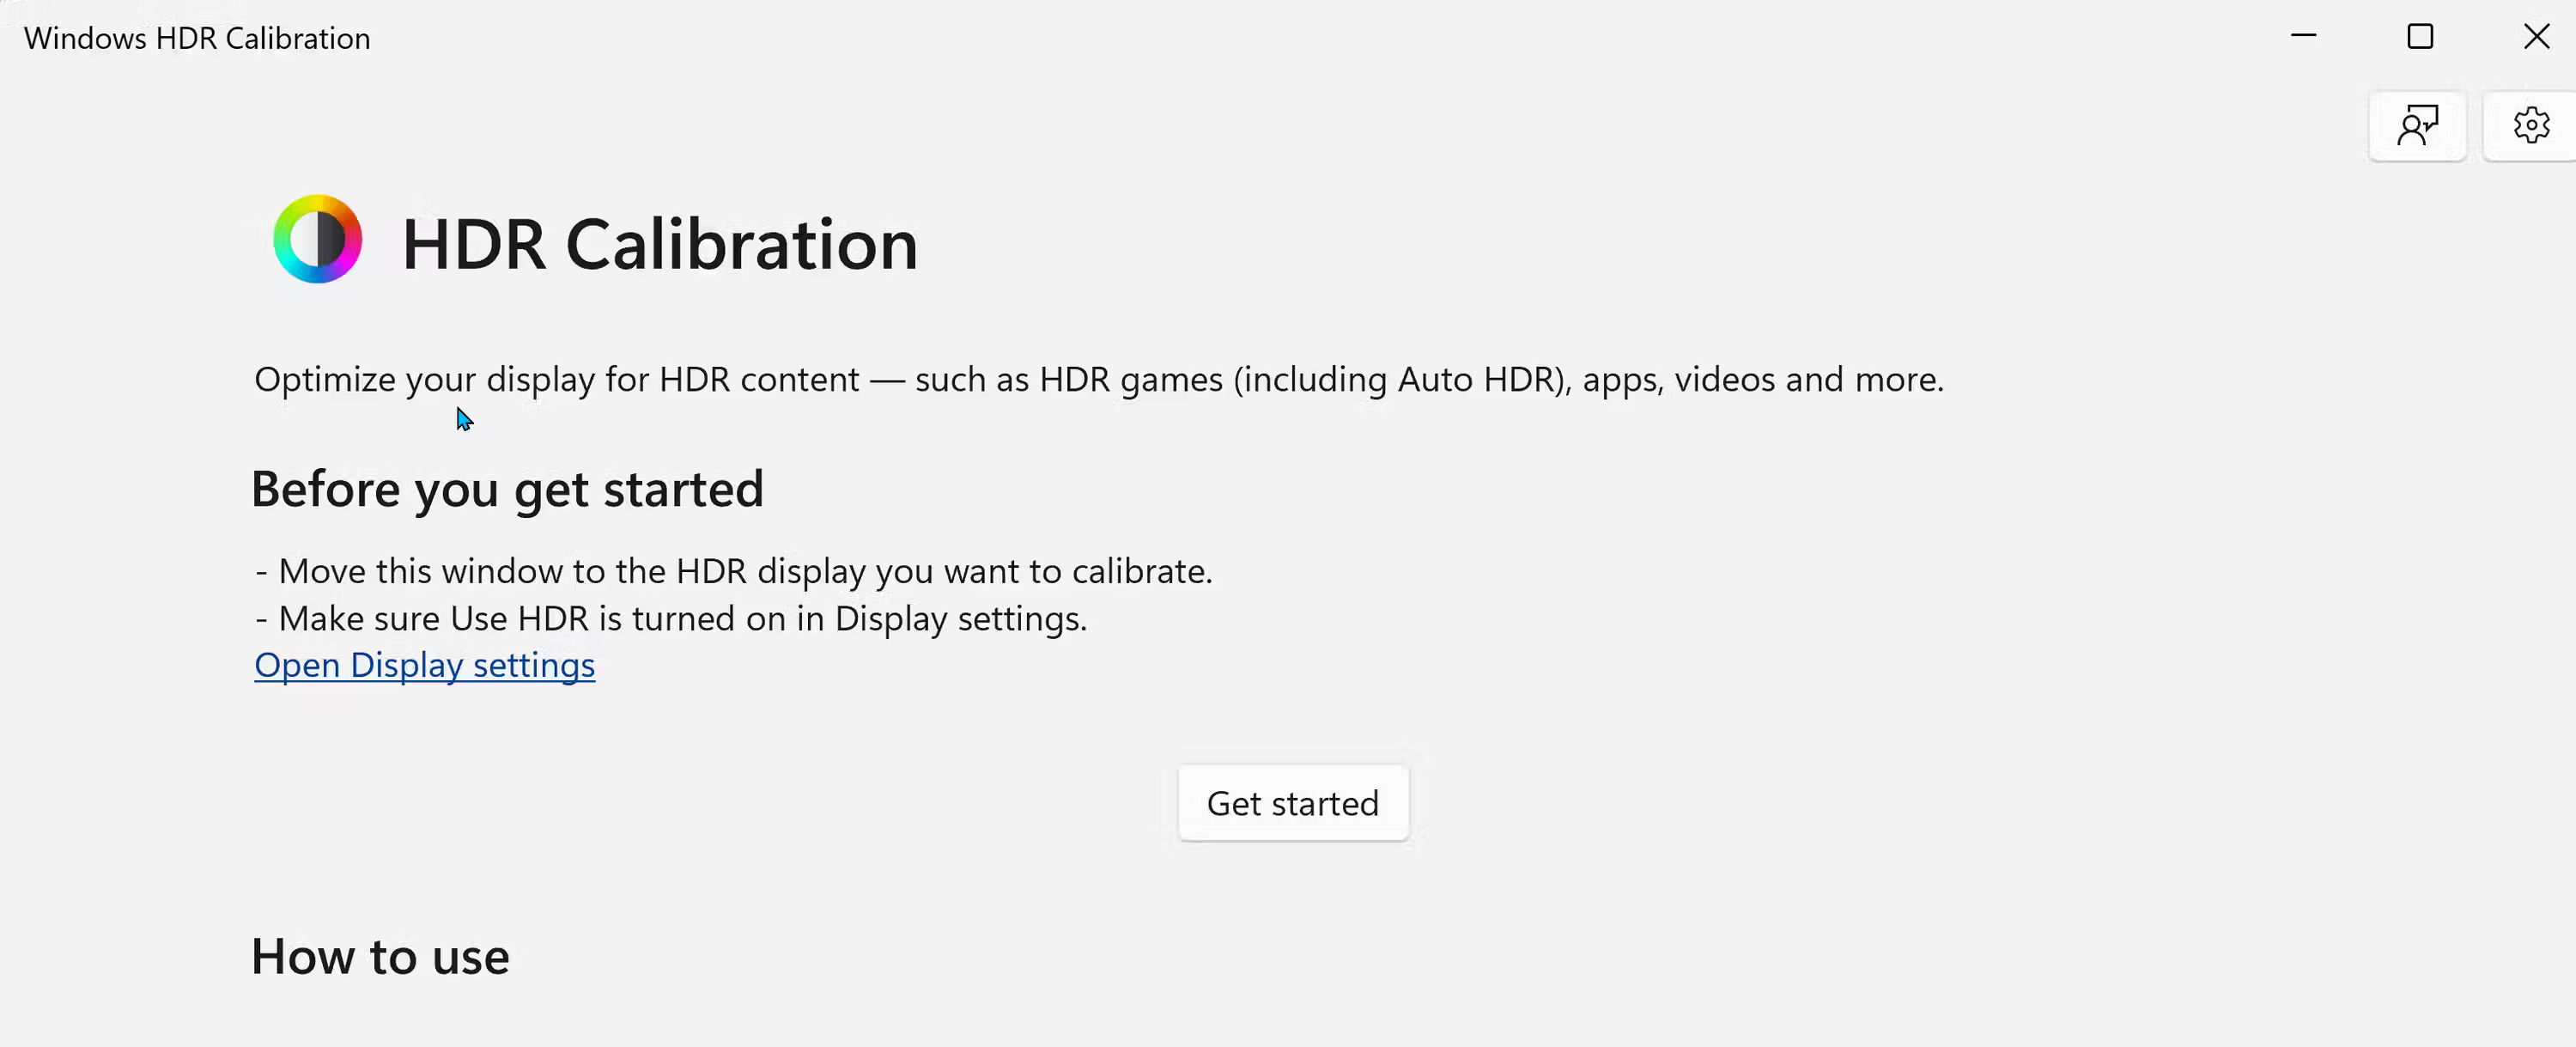
Windows HDR Calibration là công cụ hiệu chỉnh màn hình chính thức giúp bạn tạo cấu hình màu được tối ưu hóa để cải thiện độ chính xác của màu cho màn hình HDR của mình. Để bắt đầu:
- Tải xuống và cài đặt ứng dụng Windows HDR Calibration từ Microsoft Store: https://apps.microsoft.com/detail/9n7f2sm5d1lr?hl=en-US&gl=US. Khi khởi chạy, hãy di chuyển ứng dụng đến màn hình HDR mà bạn muốn hiệu chỉnh và nhấp vào Get Started.
- Công cụ sẽ hướng dẫn bạn thực hiện quy trình hiệu chỉnh để điều chỉnh Minimal Luminance , Maximum Luminance , Max Full-Frame Luminance và Color Saturation. Chỉ cần điều chỉnh các thanh trượt cho đến khi hộp biến mất.
- Sau khi hoàn tất, hãy xem lại cài đặt màu mới của bạn, nhập tên cho cấu hình màu và nhấp vào Finish.
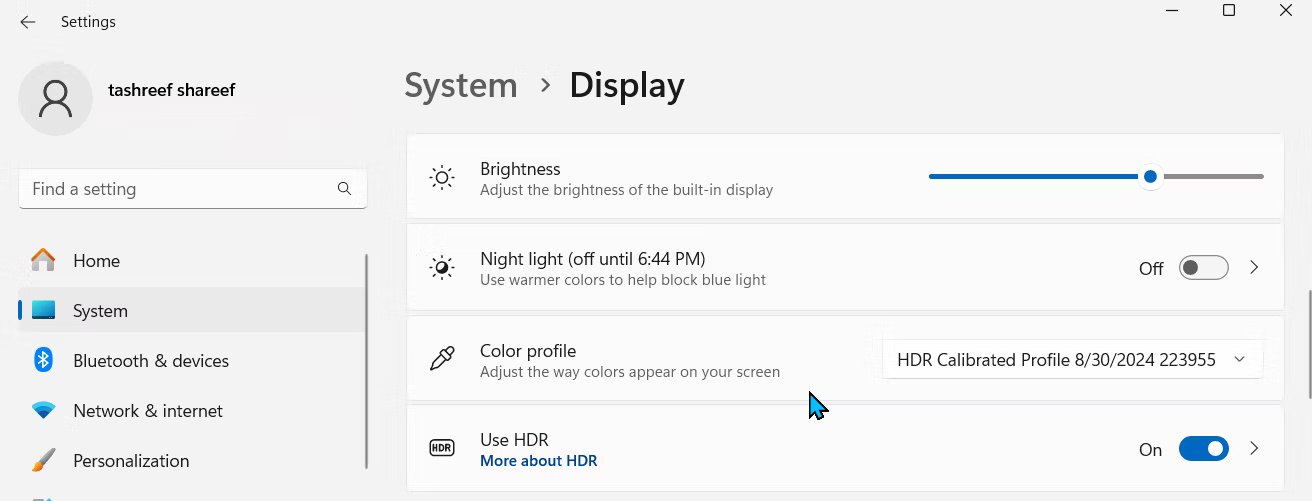
Để áp dụng cấu hình màu mới, hãy vào Settings > System > Display. Sau đó, trong mục Brightness & Color, hãy nhấp vào menu drop-down Color profile và chọn cấu hình màu mới tạo của bạn. Nếu cần điều chỉnh thêm, hãy khám phá các phương pháp hiệu chuẩn bổ sung hiệu chuẩn màn hình để có màu sắc chính xác.
Điều chỉnh ánh xạ tông màu HDR và cài đặt HDR game trên TV
Nếu nội dung HDR vẫn chưa chuẩn, hãy kiểm tra cài đặt ánh xạ tông màu của TV. Việc có sử dụng ánh xạ tông màu hay không là tùy thuộc vào sở thích cá nhân, nhưng việc chuyển đổi giữa ánh xạ tông màu động/chủ động và tĩnh có thể giúp bạn duy trì chi tiết mà không làm màn hình quá sáng hoặc quá tối.
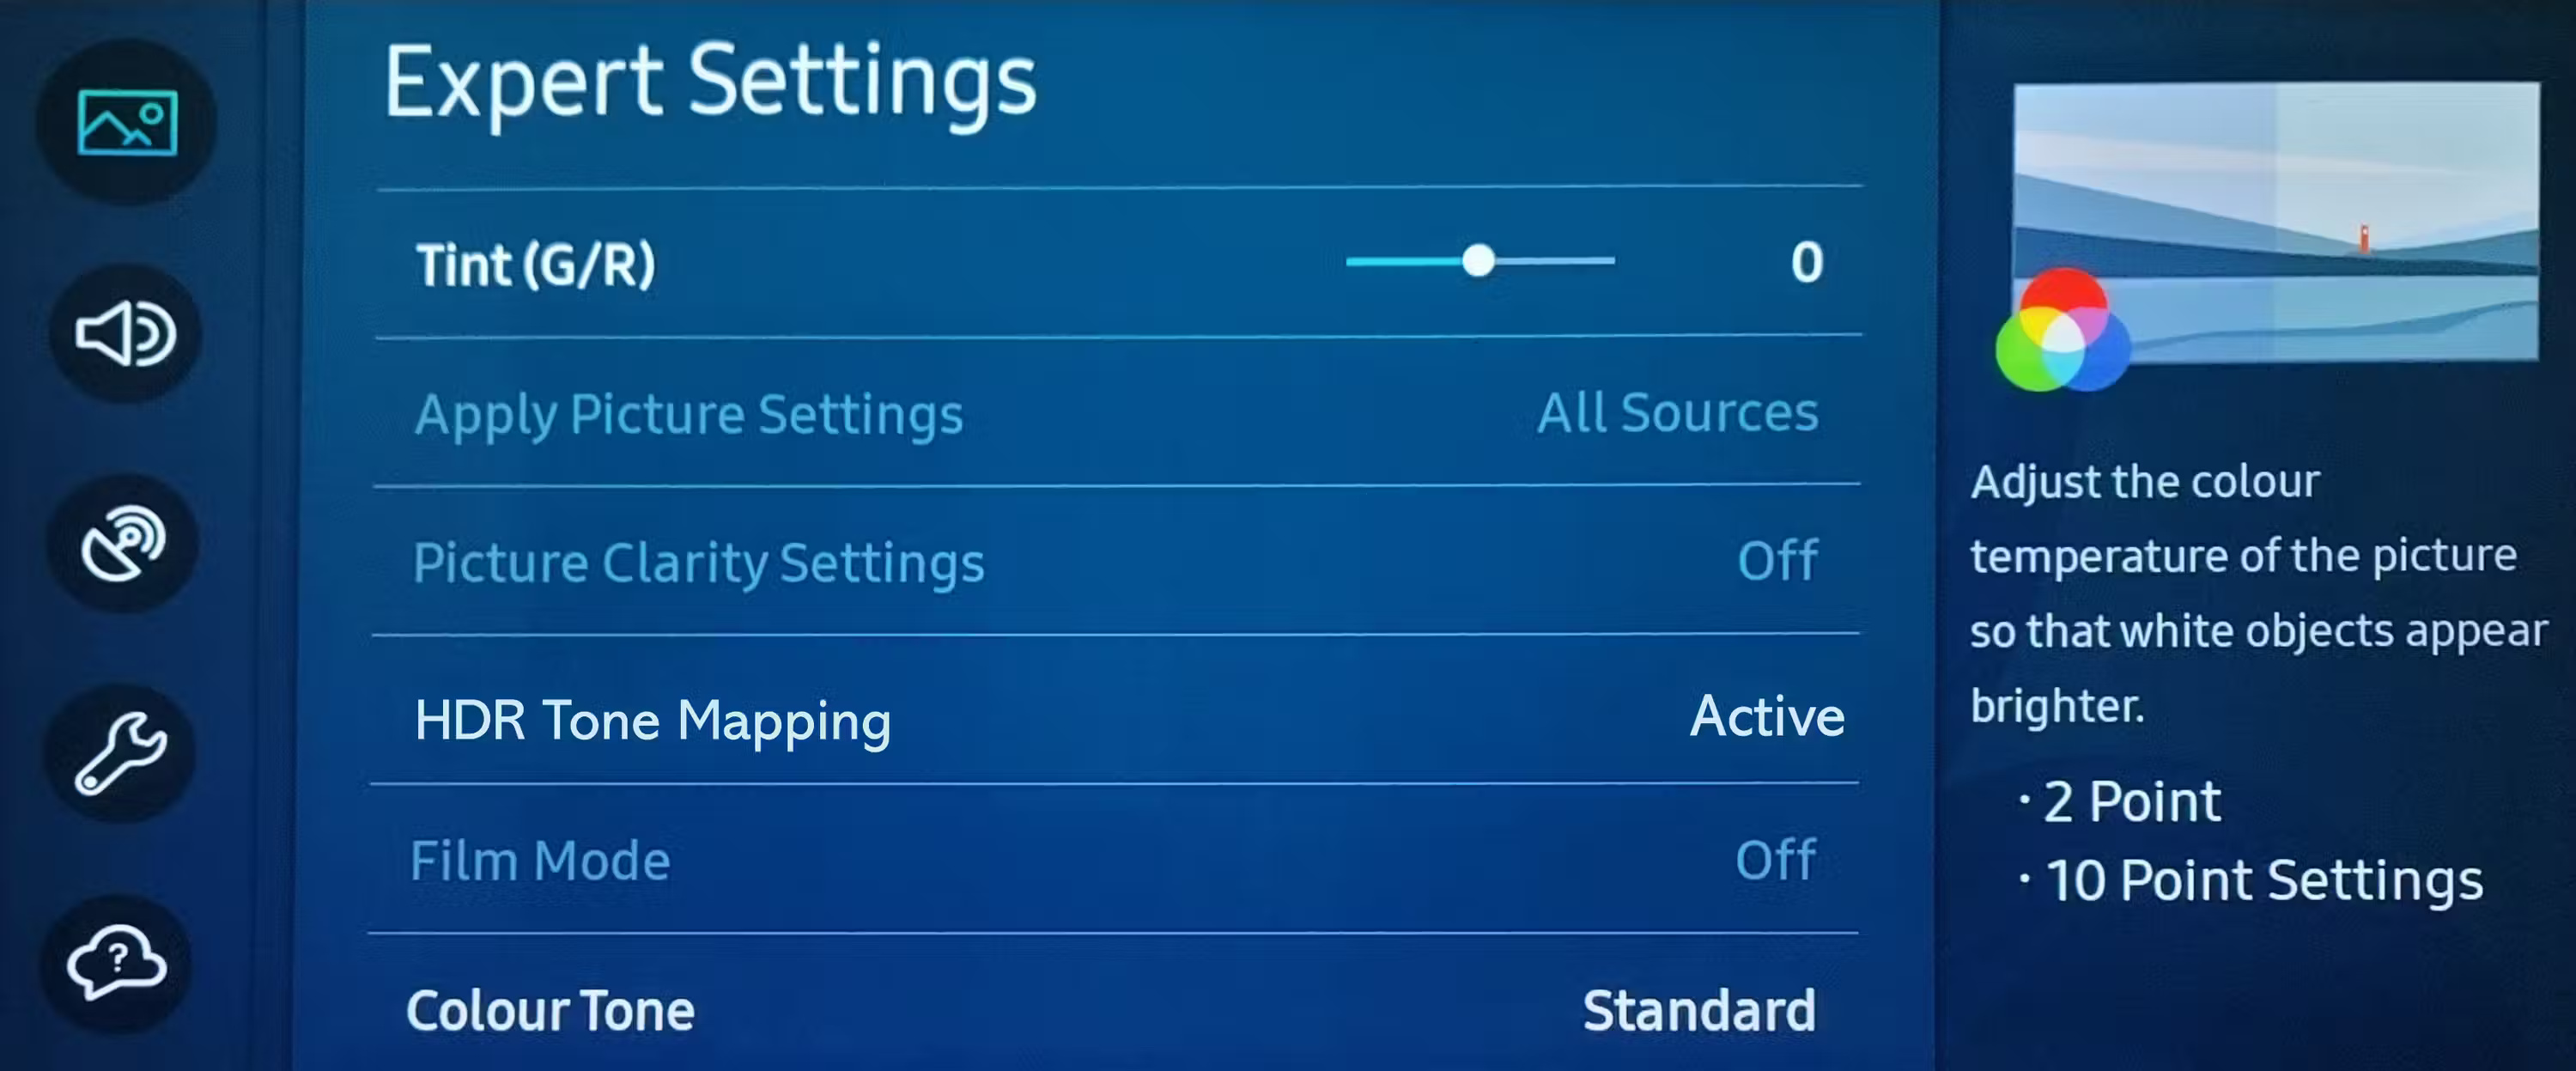
Vì các nhà sản xuất TV khác nhau áp dụng ánh xạ tông màu khác nhau, nên bạn sẽ cần thử nghiệm để tìm ra phương án phù hợp nhất với mình. Sau đây là cách điều chỉnh trên TV Samsung:
- Vào Settings > Picture > Expert Settings.
- Chọn HDR Tone Mapping, sau đó chọn từ các tùy chọn Static và Active.
Một số TV, như LG C2, hỗ trợ chế độ HGiG tự động điều chỉnh màu nội dung trong game để đáp ứng ý định của người sáng tạo. Tương tự như vậy, TV Samsung sử dụng HDR theo tiêu chuẩn HGiG, vì vậy bạn có thể không cần phải loay hoay với các cài đặt ánh xạ tông màu trừ khi cần thiết.
Sau khi bạn đã bật HDR trong Windows 11 và hiệu chỉnh màn hình của mình, hãy kiểm tra và bật HDR trong cài đặt game, nếu có. Ví dụ, để bật HDR10 trong Cyberpunk 2077, hãy vào Settings > Video > HDR Mode và đặt thành HDR10 PQ hoặc HDR10 scRGB.
Tối ưu hóa HDR trên Windows 11 cho phép bạn trải nghiệm game và phim theo cách mà người sáng tạo mong muốn. Với những mẹo này, bạn có thể tận dụng tối đa màn hình HDR đắt tiền của mình trong Windows 11.
