Cách khắc phục lỗi ghép nối Bluetooth “Try Connecting Your Device” trong Windows 10/11
- Thứ năm - 04/05/2023 01:05
- In ra
- Đóng cửa sổ này
Nhiều người dùng sử dụng các thiết bị Bluetooth không dây với PC chạy Windows 11/10. Tuy nhiên, một số người dùng cho biết họ thấy thông báo lỗi “Try connecting your device again” hoặc “Try connecting again” trong Windows khi họ thử ghép nối các thiết bị Bluetooth. Các thông báo lỗi tương tự đó xuất hiện trong cửa sổ Add a device.
Người dùng không thể kết nối các thiết bị Bluetooth như chuột, tai nghe và loa vì sự cố này. Đó là một vấn đề khó chịu mà người dùng phải khắc phục để sử dụng các thiết bị Bluetooth lại một cách bình thường. Đây là cách bạn có thể giải quyết lỗi “Try connecting your device” trong Windows 11/10.
1. Chạy Bluetooth Troubleshooter
Windows cung cấp Bluetooth Troubleshooter có thể hữu ích để khắc phục lỗi “Try connecting your device”. Trình khắc phục sự cố đó không phải là một bản sửa lỗi đảm bảo thành công 100%, nhưng đáng để thử vì nó được thiết kế để giải quyết các sự cố Bluetooth. Bạn có thể mở Bluetooth Troubleshooter như sau:
1. Kích hoạt Settings bằng cách nhấn đồng thời các phím Windows + I trên bàn phím.
2. Sau đó chọn tab System và Khắc phục sự cố để xem 3 tùy chọn điều hướng.
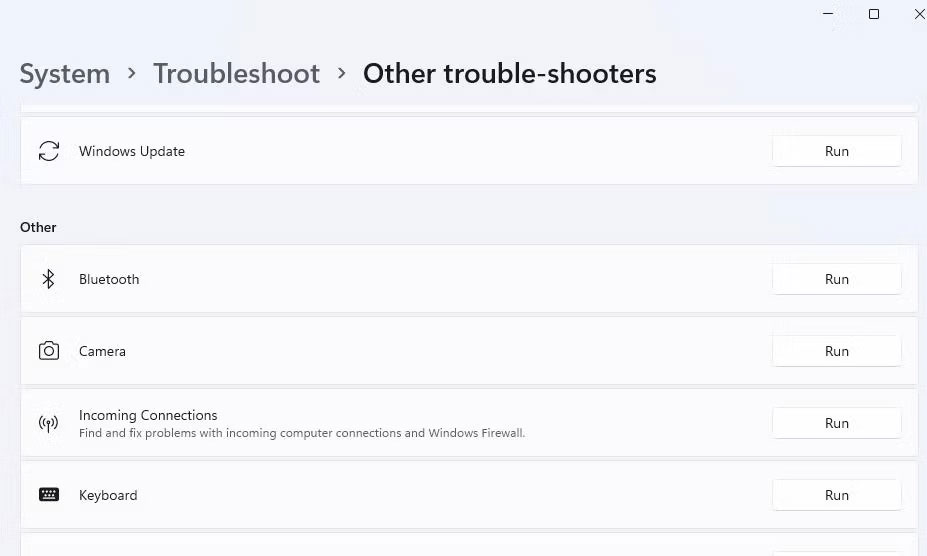
3. Nhấp vào Other trouble-shooters để đi tới danh sách các tiện ích khắc phục sự cố.
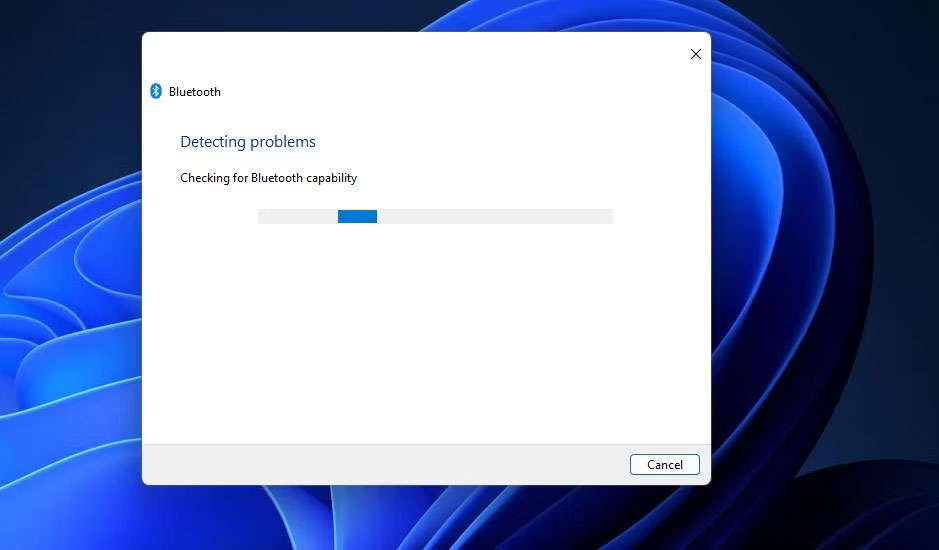
4. Nhấn nút Run của Bluetooth Troubleshooter.
5. Sau đó đợi trình khắc phục sự cố thực hiện bất kỳ thay đổi nào.
Để chạy Bluetooth Troubleshooter trong Windows 10, hãy nhấp vào Update & Security trong ứng dụng Settings. Nhấp vào tab Troubleshoot và chọn Additional troubleshooters từ đó; chọn Bluetooth để truy cập tùy chọn Run the troubleshooter.
2. Bắt đầu hoặc khởi động lại các service Bluetooth
Bluetooth Support Service cần được bật và chạy để Bluetooth hoạt động. Người dùng đã nói trên diễn đàn hỗ trợ của Microsoft rằng họ có thể giải quyết lỗi “Try connecting your device again” bằng cách khởi động service đó. Vì vậy, hãy thử bắt đầu hoặc khởi động lại Bluetooth Support Service như sau:
1. Hiển thị công cụ tìm kiếm file và ứng dụng bằng phím nóng Win + S.
2. Nhập service keyboard vào hộp tìm kiếm.
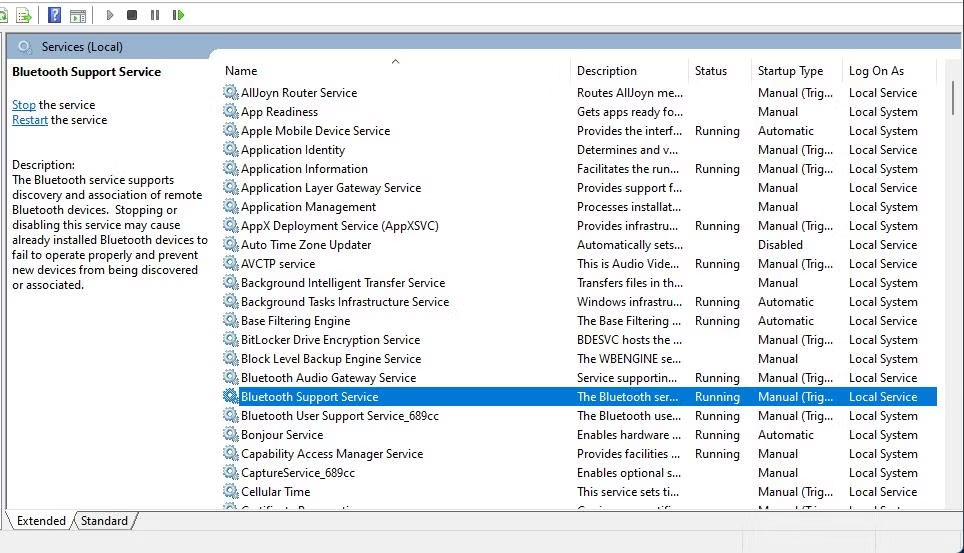
3. Chọn ứng dụng Services được hiển thị trong kết quả của công cụ tìm kiếm.
4. Nhấp đúp vào Bluetooth Support Service để mở cửa sổ thuộc tính của nó.
5. Chọn Automatic trong menu Startup type.
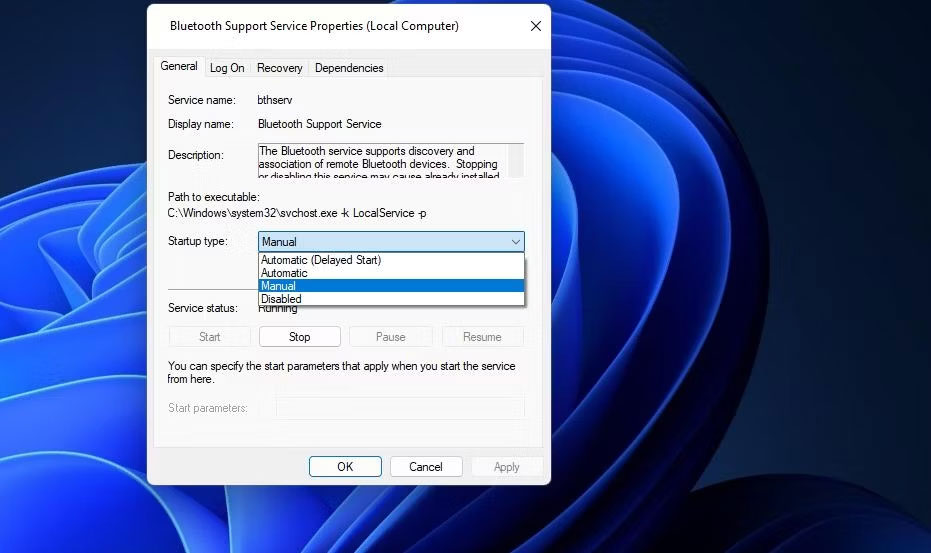
6. Chọn tùy chọn Start trong cửa sổ thuộc tính để chạy Bluetooth Support Service. Nếu service đang chạy, hãy nhấp vào Stop và Start để khởi động lại service.
7. Nhấp vào Apply để lưu cài đặt Bluetooth Support Service mới.
8. Chọn tùy chọn OK trong cửa sổ Bluetooth Support Service Properties.
9. Lặp lại các bước trên cho tất cả các service liên quan đến Bluetooth khác.
10. Khởi động lại PC sau khi điều chỉnh các service Bluetooth.
3. Cấu hình lại cài đặt Log On cho Bluetooth Support Service
Cấu hình lại cài đặt đăng nhập cho Bluetooth Support Service là một giải pháp tiềm năng khác mà một số người dùng xác nhận đã khắc phục lỗi “Try connecting your device again”. Để áp dụng cách khắc phục này, hãy cấu hình lại Bluetooth Support Service như sau:
1. Mở cửa sổ Bluetooth Support Service Properties như được nêu trong các bước từ 1 đến 4 trong giải pháp trước đó.
2. Sau đó nhấp vào tab Log On.
3. Nhấp vào nút Browse cho tùy chọn This account.
4. Nhấn Advanced trên cửa sổ Select User.
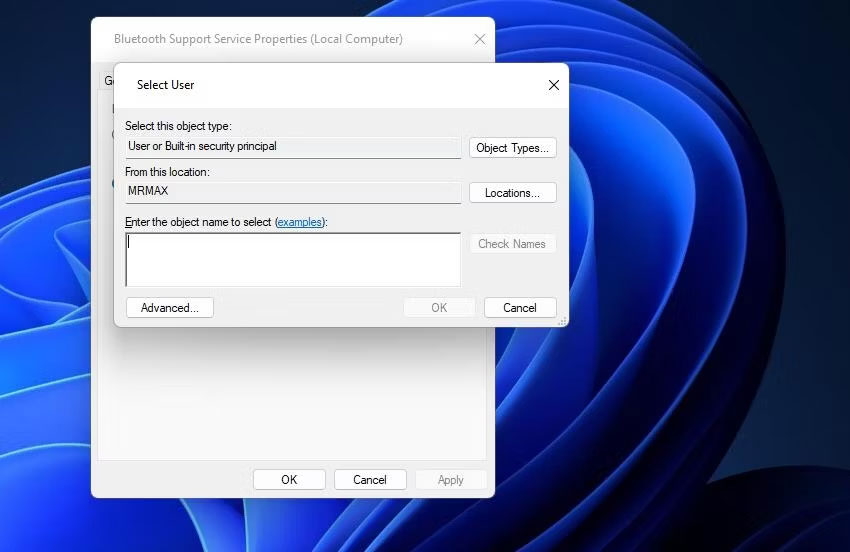
5. Nhấp vào tùy chọn Find Now.
6. Chọn Local Services trong kết quả tìm kiếm.
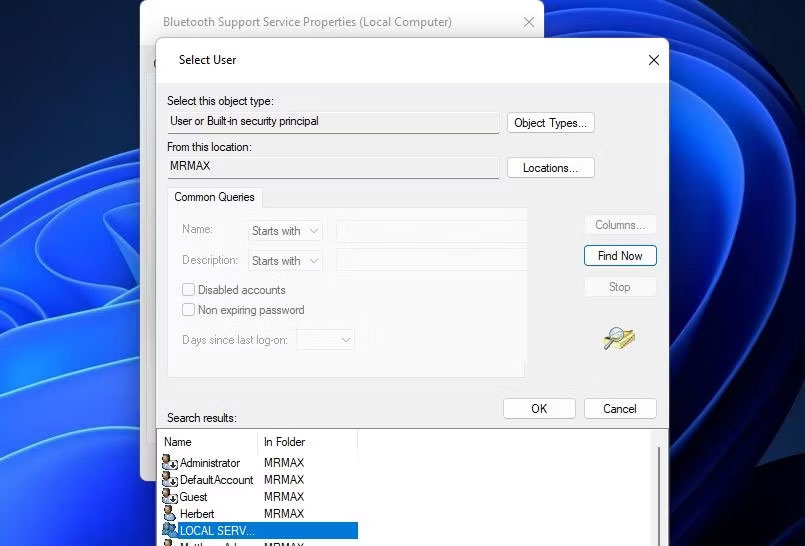
7. Nhấp vào nút OK của cửa sổ Select User một vài lần.
8. Xóa văn bản trong hộp Password và Confirm password để xóa chúng.
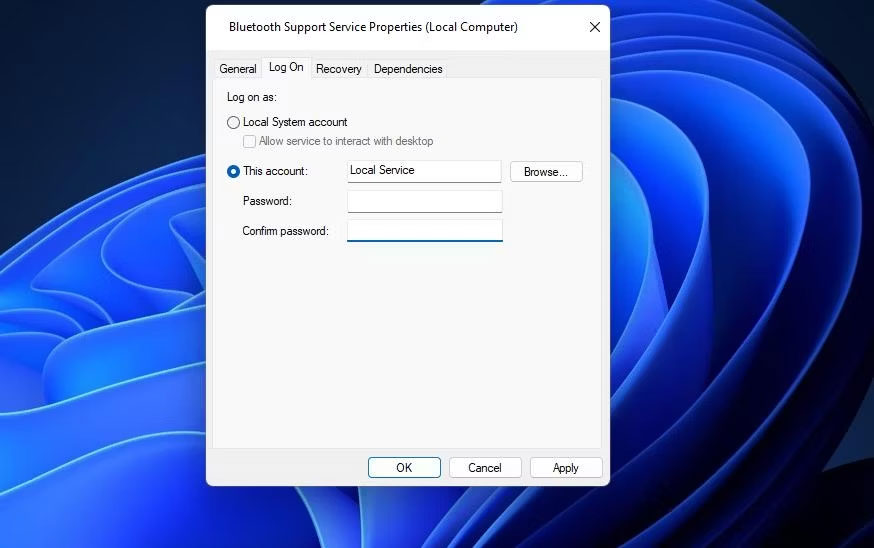
9. Chọn Apply > OK để thiết lập cài đặt đăng nhập mới.
10. Nhấp chuột phải vào Bluetooth Support Service và chọn Stop nếu nó đang chạy. Sau đó khởi động lại service đó bằng cách nhấp chuột phải và chọn Start.
11. Nhấp chuột phải vào Bluetooth Handsfree Service và chọn Start nếu service đó bị dừng.
Bây giờ, chúng ta cần truy cập cài đặt Bluetooth:
1. Tiếp theo, mở Settings và tab Bluetooth.
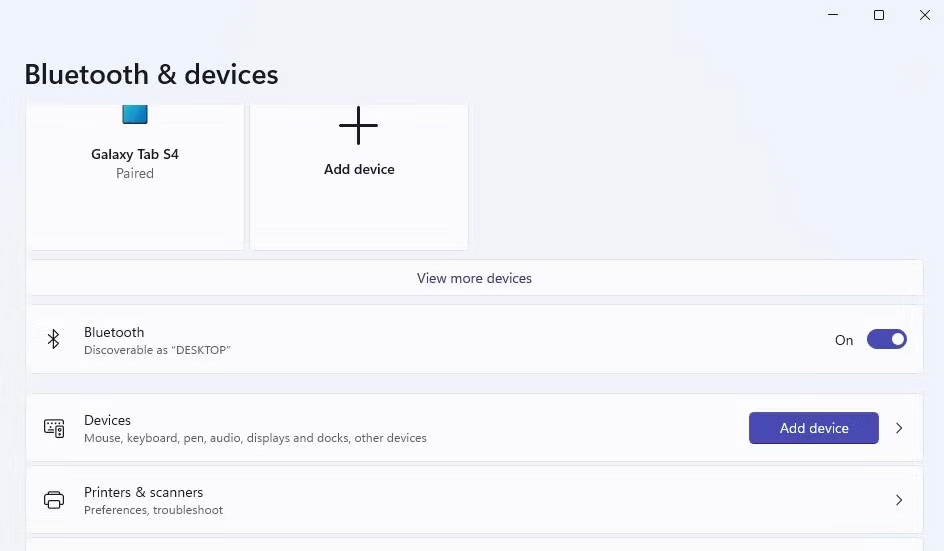
2. Tắt cài đặt Bluetooth (giả sử nó đang bật) trong một phút.
3. Nhấp lại vào tùy chọn Bluetooth để bật lại.
4. Mở menu Start và khởi động lại máy tính Windows.
4. Cài đặt lại driver Bluetooth
Người dùng khắc phục lỗi “Try connecting your device” đã xác nhận rằng việc cài đặt lại driver Bluetooth có thể giải quyết được sự cố. Việc áp dụng một giải pháp tiềm năng như vậy sẽ giải quyết được sự cố do ổ Bluetooth bị hỏng hoặc lỗi thời gây ra. Đây là cách bạn có thể cài đặt lại driver Bluetooth trong Windows:
1. Mở menu Power User bằng cách nhấn Win + X.
2. Chọn Device Manager trong menu Power User.
3. Nhấp vào View và tùy chọn menu Show hidden devices.
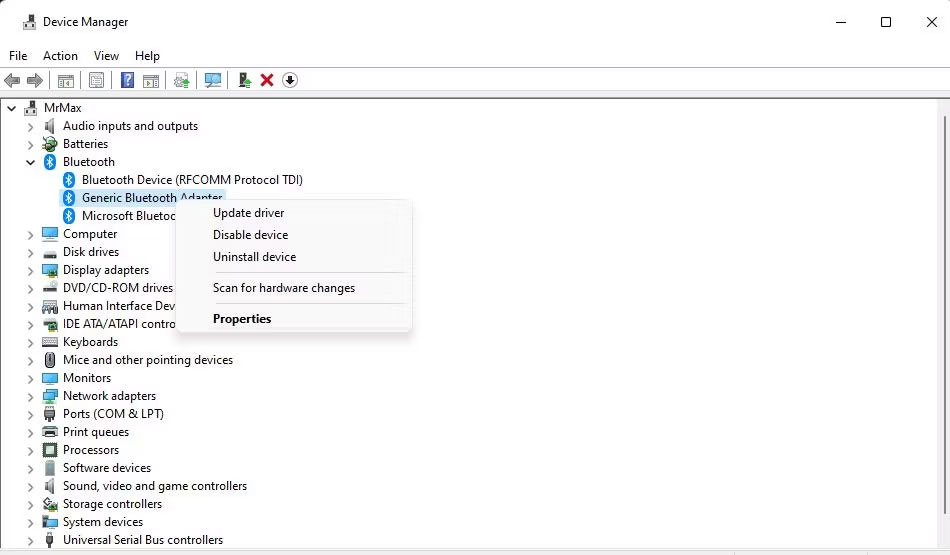
4. Nhấp đúp vào Bluetooth để xem các thiết bị cho danh mục đó.
5. Sau đó nhấp chuột phải vào Bluetooth adapter và chọn tùy chọn Uninstall device.
6. Chọn Uninstall khi được nhắc xác nhận tùy chọn đã chọn.
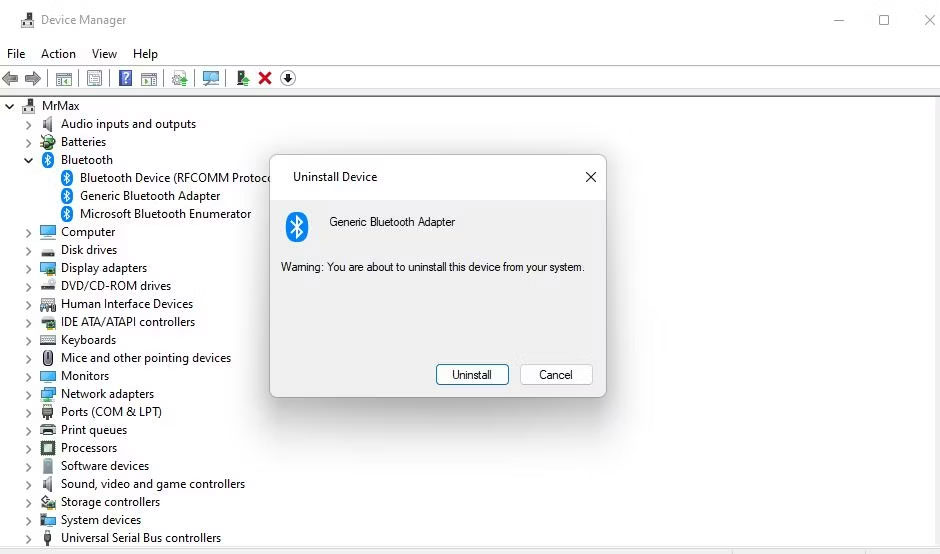
7. Khởi động lại PC Windows để cài đặt lại driver Bluetooth chung.
Ngoài ra, bạn có thể tải xuống driver thiết bị Bluetooth adapter mới nhất từ trang web của nhà sản xuất để cài đặt thủ công. Gỡ cài đặt driver Bluetooth như đã nêu trong các bước ở trên. Sau đó nhấp đúp vào gói thiết lập driver Bluetooth đã tải xuống để cài đặt driver mới nhất.
Một số người dùng cũng cho biết họ cần xóa và cài đặt lại tất cả driver Bluetooth được liệt kê trong Device Manager để khắc phục sự cố. Trước tiên, hãy thử cài đặt lại một driver như đã đề cập ở trên. Nếu vẫn chưa đủ, bạn có thể thử một cách tiếp cận quyết liệt hơn như cài đặt lại tất cả driver Bluetooth.
5. Thử một số bản sửa lỗi dựa trên Windows
Có một số điều bạn có thể làm với hệ thống Windows để sửa lỗi này.
Khôi phục Windows 11/10 về một ngày trước đó
Khôi phục Windows về điểm khôi phục có thể là một cách khắc phục khả thi cho sự cố “Try connecting your device”. Sự thành công phần lớn phụ thuộc vào việc có điểm khôi phục hệ thống xảy ra trước lỗi trên PC của bạn hay không. Nếu vậy, việc chọn đưa Windows trở lại điểm khôi phục được lưu trước khi xảy ra lỗi có thể có tác dụng.
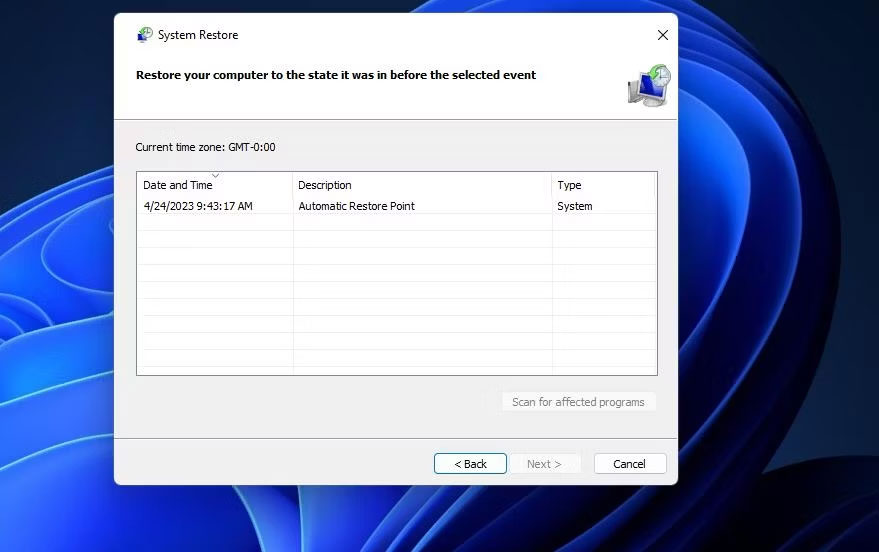
Lưu ý rằng bạn sẽ cần cài đặt lại các gói phần mềm đã cài đặt sau ngày của điểm khôi phục sau khi áp dụng giải pháp tiềm năng này. Hướng dẫn thiết lập và sử dụng các điểm khôi phục trên Windows sẽ cho bạn biết cách khôi phục Windows về thời điểm trước đó. Chọn điểm khôi phục gần nhất có thể nếu bạn không chắc nên chọn điểm nào.
Cài đặt lại Windows 11
Cài đặt lại Windows nghe có vẻ hơi quyết liệt, nhưng một số người dùng xác nhận rằng đó là một cách khắc phục tiềm năng cho lỗi “Try connecting your device” đang diễn ra. Hơn nữa, bạn có thể cài đặt lại nền tảng mà không làm mất phần mềm hoặc file người dùng bằng phương pháp nâng cấp tại chỗ.
Nhiều người dùng đã khắc phục thành công lỗi kết nối Bluetooth “Try connecting your device” trong Windows 11/10 bằng cách áp dụng các giải pháp tiềm năng trong hướng dẫn này. Vì vậy, rất có thể một trong các cách khắc phục ở trên cũng sẽ giải quyết sự cố Bluetooth tương tự trên PC của bạn. Sau đó, bạn có thể sử dụng thiết bị Bluetooth của mình với PC Windows như bình thường.
