Cách cài đặt ownCloud trên Windows
- Thứ sáu - 06/10/2023 09:51
- In ra
- Đóng cửa sổ này
Có rất nhiều giải pháp lưu trữ đám mây trên Internet, tuy nhiên bài viết hôm nay sẽ hướng dẫn các bạn cách tạo một giải pháp lưu trữ đám mây của riêng mình, được lưu trữ tại máy chủ Windows, máy tính, từ xa hoặc qua Internet.
OwnCloud là một phần mềm mã nguồn mở và miễn phí, được sử dụng để tạo giải pháp lưu trữ đám mây riêng. OwnCloud server có thể được tạo trên Windows cũng như các nền tảng Linux, máy khách hỗ trợ từ Windows đến Mac OSX, Android và iPhone.
Cài đặt ownCloud Server trong Windows
Để bắt đầu sử dụng dịch vụ, bạn cần host Cloud server của riêng mình trong Windows. Có nhiều giao thức khác nhau hỗ trợ điều này: XAMMP, WAMP và Internet Information Services (IIS). Bài viết sẽ chọn Internet Information Services (IIS) để minh họa.
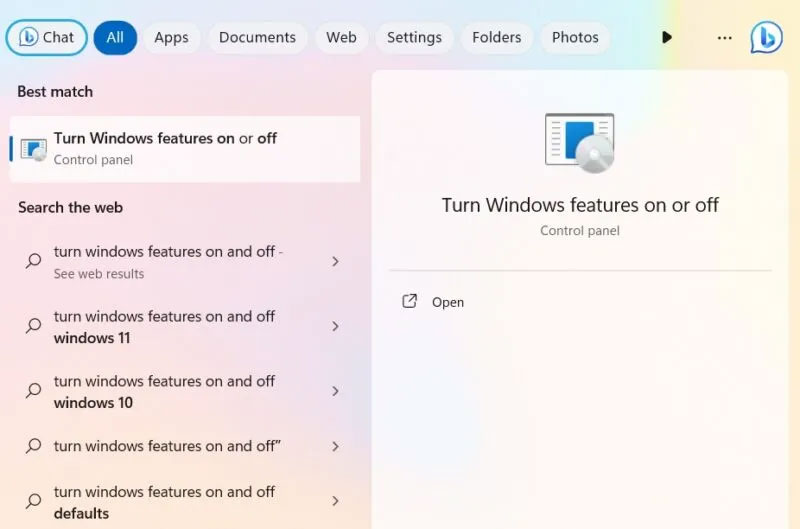
Để bắt đầu, hãy nhập "Turn Windows features on" trong Windows Search và chọn kết quả phù hợp nhất bên dưới. Hoặc đi tới Control Panel -> Programs and Features -> Turn Windows Features On or Off.
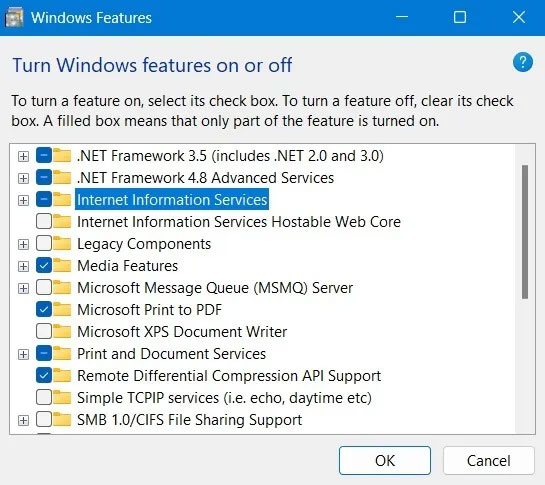
ownCloud yêu cầu bạn cài đặt Internet Information Services (IIS) trên Windows. Trước tiên, bạn cần kích hoạt nó từ cửa sổ Windows Features. Chọn hộp bên cạnh Internet Information Services.
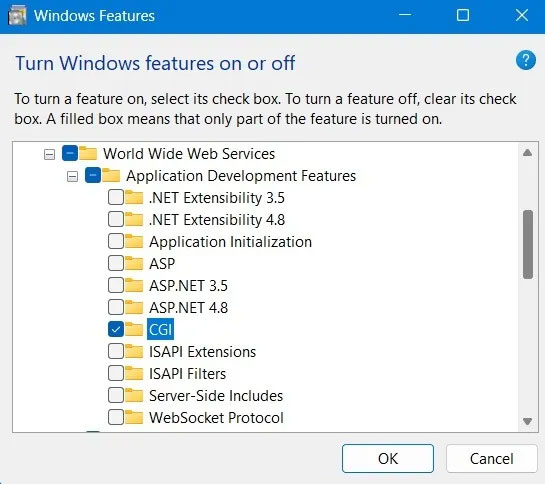
Bạn cũng nên đảm bảo kiểm tra CGI trong Application Development Features của World Wide Web services.
Tải PHP và MySQL Server cho Windows.
Lưu ý: Bạn cũng có thể tải xuống WAMP Server và sử dụng PHP và MySQL Server từ nguồn đó, nhưng hãy đảm bảo IIS và Apache không được cấu hình để chạy trên cùng một cổng; nếu không chúng sẽ xung đột với nhau và không chạy đúng cách.
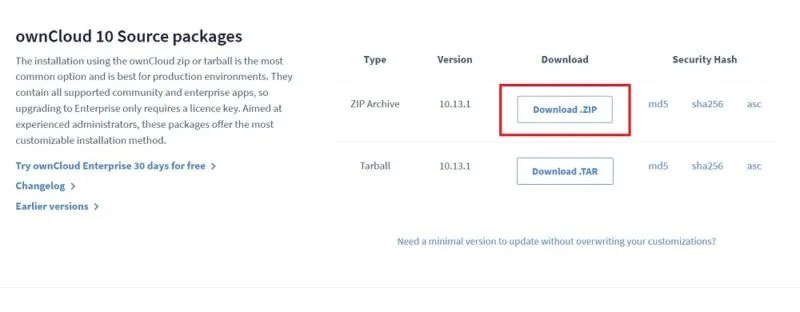
Nếu bạn là người dùng cá nhân hoặc doanh nghiệp vừa và nhỏ (SME), ownCloud cho phép bạn dùng thử phiên bản cộng đồng miễn phí. Hãy tải xuống file ZIP này:
https://owncloud.com/download-server/
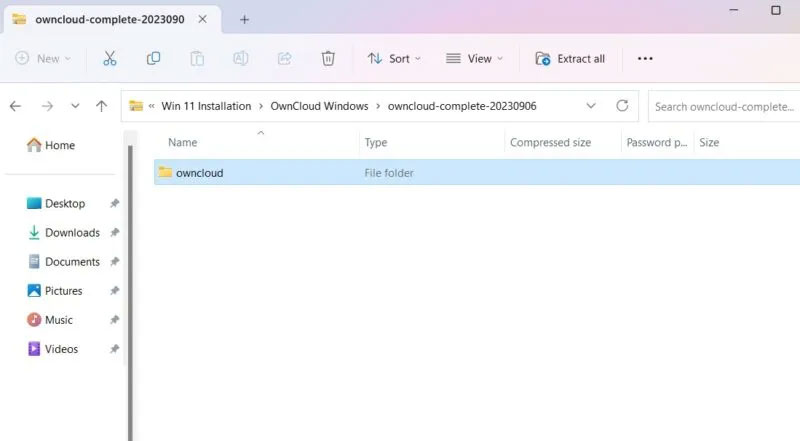
Sau khi bạn giải nén thư mục, hãy sao chép toàn bộ thư mục ownCloud và dán nó vào thư mục C:\inetpub\wwwroot. Thư mục này sẽ chỉ xuất hiện sau khi bạn bật IIS, như minh họa trong hướng dẫn trước đó.
Xin lưu ý rằng bạn có thể cần cấp quyền quản trị để sao chép mọi thứ vào thư mục wwwroot. Khi bạn bắt đầu sao chép, Windows sẽ yêu cầu quyền admin.
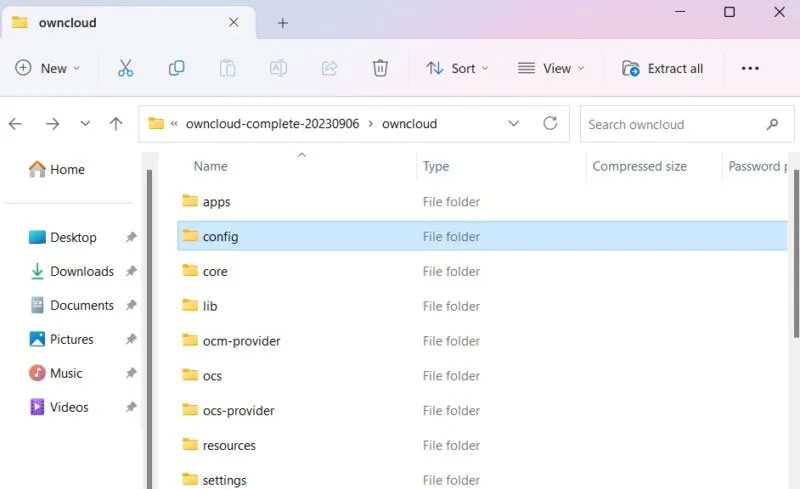
Sau khi copy xong thì vào thư mục config bên dưới owncloud.
Tiếp theo, đổi tên config.sample.php thành config.php.
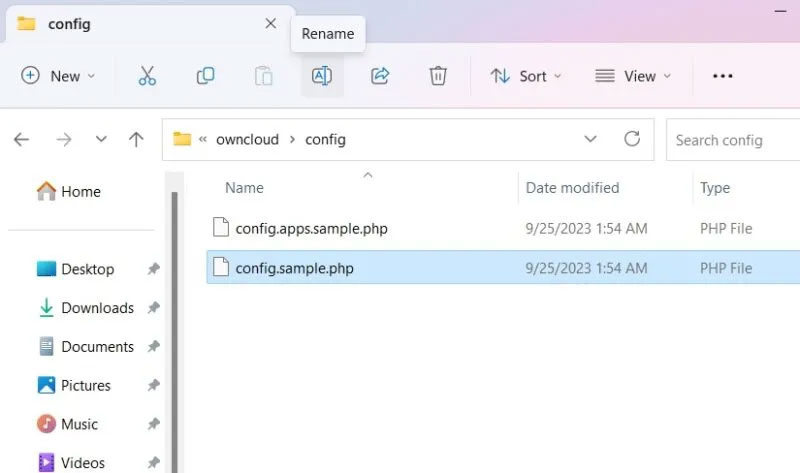
Sau khi đổi tên file PHP như trên, bạn sẽ cần mở file đó bằng ứng dụng desktop. Bài viết đang sử dụng Notepad.
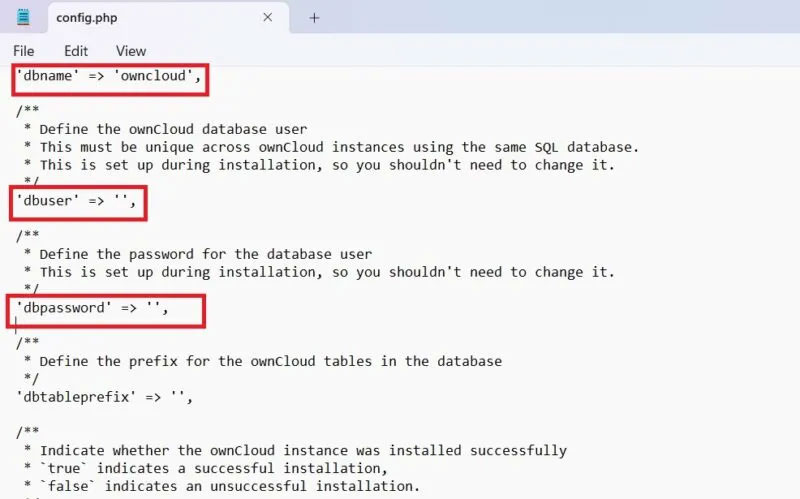
Mở config.php mới được đổi tên và chỉnh sửa các giá trị của dbname, dbuser và dbpassword, như minh họa trong ảnh chụp màn hình bên dưới. "dbname" đề cập đến bộ cơ sở dữ liệu ownCloud trong quá trình cài đặt, có thể không cần thay đổi. Tuy nhiên, "dbuser" và "dbpassword" có thể được chỉnh sửa nếu muốn.
Các tùy chọn khác có thể để nguyên giá trị mặc định.
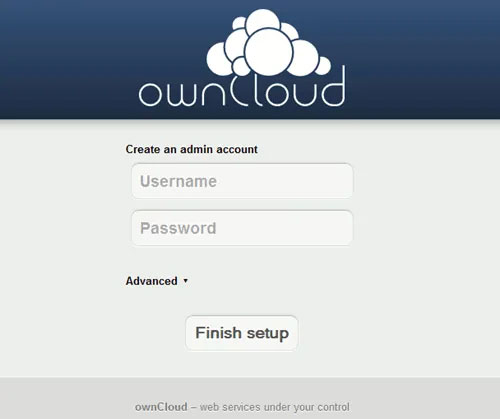
Mở trình duyệt của bạn và truy cập "http://localhost/owncloud". Xin lưu ý rằng nếu bạn đã sao chép tất cả các file trực tiếp vào thư mục "wwwroot", bạn sẽ chỉ cần gõ "http://localhost/".
Điền vào các trường và nhấp vào nút Create account để tạo trang tài khoản Admin.
2. Cài đặt ứng dụng ownCloud Desktop trong Windows
Sau khi thiết lập OwnCloud server, bạn sẽ cần cài đặt ứng dụng desktop của OwnCloud, ứng dụng này cho phép bạn đồng bộ hóa các file với tài khoản OwnCloud của mình và truy cập các file từ xa, như thể chúng được lưu trữ ngay trên PC của bạn.
Có nhiều cách để cài đặt ứng dụng ownCloud Desktop.
Tải ứng dụng
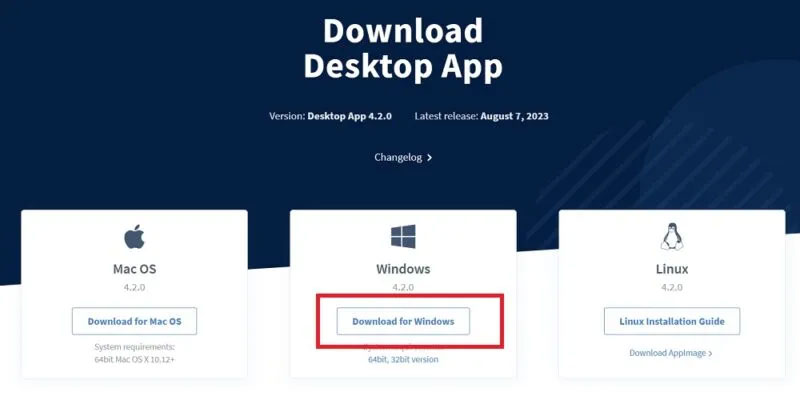
Đi tới trang tải xuống ứng dụng Desktop và tải xuống client cho Windows:
https://owncloud.com/desktop-app
Tiếp theo là một quá trình cài đặt đơn giản. Bạn nên sử dụng Windows 8 trở lên. Đảm bảo cài đặt ownCloud client trên PC mà bạn sẽ sử dụng để đồng bộ.
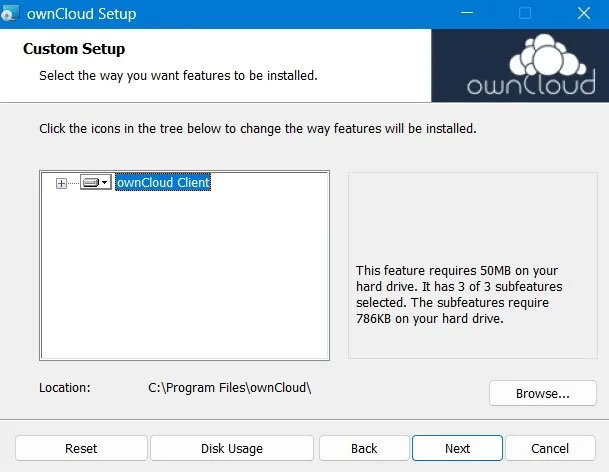
Sau khi quá trình cài đặt hoàn tất, hãy khởi động lại máy tính của bạn để thiết lập các file cấu hình.
Sau khi khởi động lại, bạn có thể truy cập ứng dụng ownCloud từ menu Search.

Ngoài ra, ownCloud cũng có thể được cài đặt từ Microsoft Store. Đây là phiên bản nhẹ của ứng dụng desktop.
Sử dụng trình cài đặt MSI
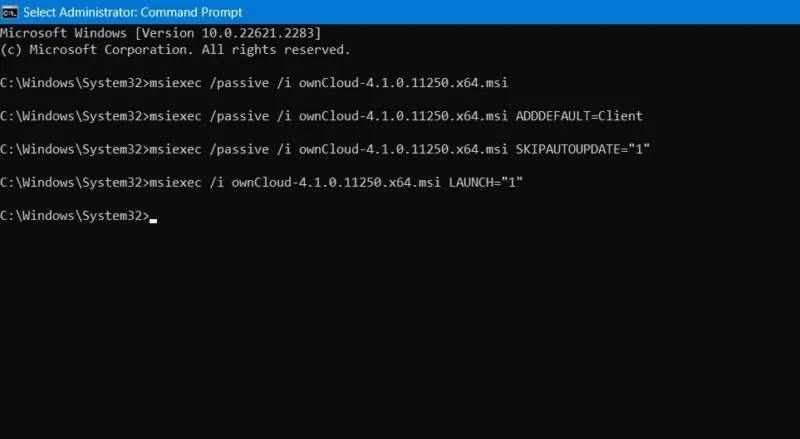
Để cài đặt tùy chỉnh ownCloud, hãy sử dụng phương pháp Command Prompt trong chế độ Admin. Điều này giúp bạn cài đặt hoặc gỡ bỏ các tính năng bạn mong muốn.
Để cài đặt tự động, hãy sử dụng lệnh sau:
msiexec /passive /i ownCloud-4.1.0.11250.x64.msi
Để thêm ứng dụng desktop theo mặc định, hãy sử dụng lệnh bên dưới. Để xóa nó, chỉ cần thay thế "ADDDEFAULT" bằng "REMOVE".
msiexec /passive /i ownCloud-4.1.0.11250.x64.msi ADDDEFAULT=Client
Nếu bạn muốn bỏ qua cập nhật tự động cho chương trình ownCloud, hãy nhập:
msiexec /passive /i ownCloud-4.1.0.11250.x64.msi SKIPAUTOUPDATE="1"
Để trực tiếp khởi chạy chương trình, hãy sử dụng lệnh sau:
msiexec /i ownCloud-4.1.0.11250.x64.msi LAUNCH="1"
Chúc các bạn thực hiện thành công!
